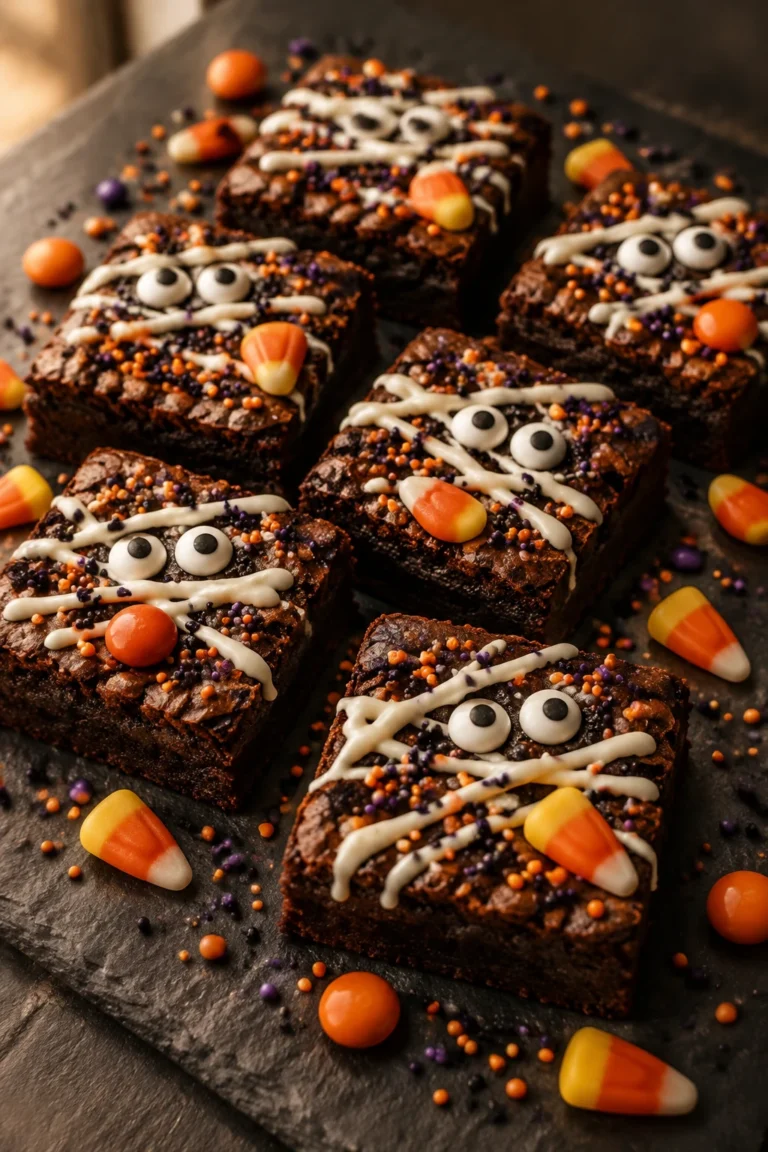
There is something magical about turning a classic chocolate treat into a spooky seasonal centerpiece. These Halloween brownies are everything you want in a fall dessert — deeply fudgy, loaded with rich double chocolate flavor, and decorated with candy eyes, festive sprinkles, and your favorite Halloween candies. Whether you are baking for a classroom party, a haunted house gathering, or just a fun weekend project with the kids, this recipe delivers show-stopping results with every single batch.
Reasons to Try Halloween Brownies
These are not your average box-mix brownies with a few sprinkles tossed on top. Here is why this recipe genuinely stands out:
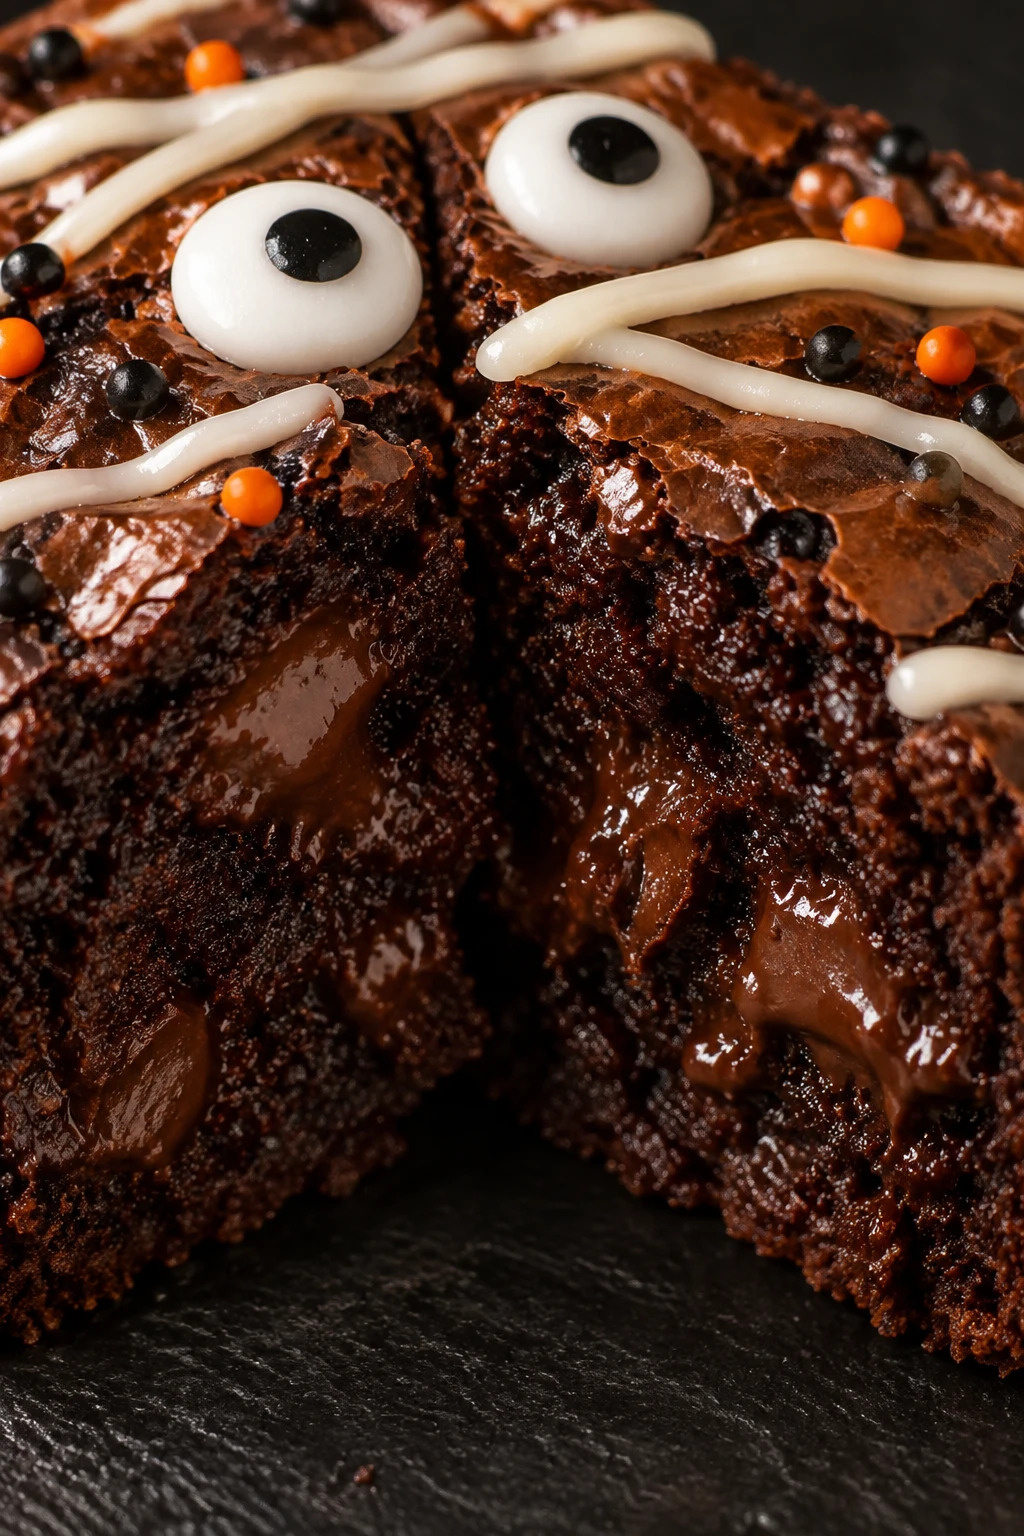
- Seriously fudgy texture: The high fat-to-flour ratio and dual chocolate approach (melted baking chocolate plus cocoa powder) create an ultra-dense, moist crumb that is closer to fudge than cake.
- Deep, complex chocolate flavor: Espresso powder amplifies the cocoa without making anything taste like coffee — it is the secret weapon behind that intense, bakery-level chocolate punch.
- That iconic crackle top: Beating the eggs and sugar for a full four minutes creates the glossy, papery crackle top that makes homemade brownies look absolutely professional.
- Fun for all ages: Candy googly eyes, Halloween sprinkles, and pressed-in M&Ms or candy corn make this a recipe kids love to help decorate. No two pans look the same.
- Perfect for any Halloween event: Cut into 24 squares, these brownies are easy to transport, share, and eat without a fork — ideal for parties, bake sales, or trick-or-treat night treats.
- Optional mummy and spider-web designs: A quick drizzle of melted white chocolate transforms these into edible Halloween art in under 20 minutes.
 Save
SaveIngredients Notes
- Unsalted butter
- Granulated sugar
- Large eggs
- Vanilla extract
- All-purpose flour
- Unsweetened cocoa powder
- Salt
- Baking chocolate, chopped
- Halloween sprinkles
- Light brown sugar
- Semisweet chocolate chips
- Candy googly eyes
- Halloween candy (M&Ms, candy corn, mini Reese’s)
- Espresso powder
A few notes worth highlighting: Dutch-process cocoa powder gives these brownies a darker, richer color compared to natural cocoa — it is worth seeking out. Room-temperature eggs incorporate more smoothly into the batter and help build that fudgy structure. The combination of both granulated sugar and light brown sugar adds a subtle caramel undertone and extra moisture. Do not skip the espresso powder — it is completely undetectable as coffee but makes the chocolate flavor dramatically more intense.
How to Make Halloween Brownies
- Preheat oven to 350°F and line a 9×13-inch metal pan with parchment paper.
- Melt butter and chopped baking chocolate together over low heat, then cool for 5–10 minutes.
- Beat eggs, granulated sugar, and brown sugar with a hand mixer until pale, thick, and ribbon-like.
- Stir cooled chocolate mixture into the egg-sugar base, then add vanilla and espresso powder.
- Sift in cocoa powder, flour, and salt, then fold gently with a spatula until just combined.
- Fold in chocolate chips, pour batter into the prepared pan, and smooth the surface.
- Scatter Halloween sprinkles, candy eyes, and optional Halloween candy over the top, then bake for 28–32 minutes.
- Cool completely in the pan, then decorate with white chocolate drizzle if desired and slice into 24 squares.
What You Must Know About Halloween Brownies
Before you start, here are the most important things to keep in mind for a perfect batch every time:
- The 4-minute beating step is non-negotiable. Beating the eggs with both sugars until pale and ribbon-like is the single most important technique in this recipe. It dissolves the sugar, incorporates air, and creates that sought-after shiny crackle top. Do not cut this short.
- Use a metal pan, not glass. Glass and ceramic pans conduct heat more slowly and unevenly, which can lead to underbaked centers and overbaked edges. A metal 9×13-inch pan gives you the most consistent results.
- Low flour is intentional. The flour-to-fat ratio here is deliberately low — that is exactly what makes these fudgy rather than cakey. Do not be tempted to add more flour if the batter looks very thick and glossy.
- Cool before cutting — always. This is the rule most people break and immediately regret. Hot brownies are structurally fragile and will tear and crumble. Give them the full 1–2 hours of cooling time before you even think about slicing.
- The toothpick test has a fudgy-brownie rule: Unlike cake, you do NOT want a clean toothpick. You want moist crumbs. A clean toothpick means overbaked.
Helpful Tips:
- For the cleanest decorative cuts, refrigerate fully cooled brownies for 30 minutes before slicing — the chocolate chips and fudgy center firm up and cut much more neatly.
- If you want even more Halloween drama, use gel food coloring to tint white chocolate orange or green before piping spider webs or drizzles.
- Bring your eggs to room temperature quickly by placing them in a bowl of warm (not hot) water for 10 minutes while you prep your other ingredients.
- A bench scraper works beautifully for portioning clean, even squares after the first few cuts with a knife.
Variations and Substitutions
- Peanut butter swirl: Drop spoonfuls of peanut butter over the batter before baking and swirl with a toothpick for a Reese’s-inspired Halloween effect.
- Gluten-free version: Substitute a 1:1 gluten-free all-purpose flour blend in equal measure. The texture stays very close to the original due to the high fat content.
- Dairy-free adaptation: Use a high-quality vegan butter (like Miyoko’s) and dairy-free semisweet chocolate chips. The overall flavor will be slightly lighter but still delicious.
- No espresso powder: Simply leave it out — the brownies will still be great. It just removes one layer of depth. Do not substitute brewed coffee as it adds too much liquid.
- Different Halloween candy toppers: Swap out M&Ms and candy corn for chopped Kit Kats, Halloween Oreo pieces, or even pumpkin-shaped Reese’s pressed in after baking.
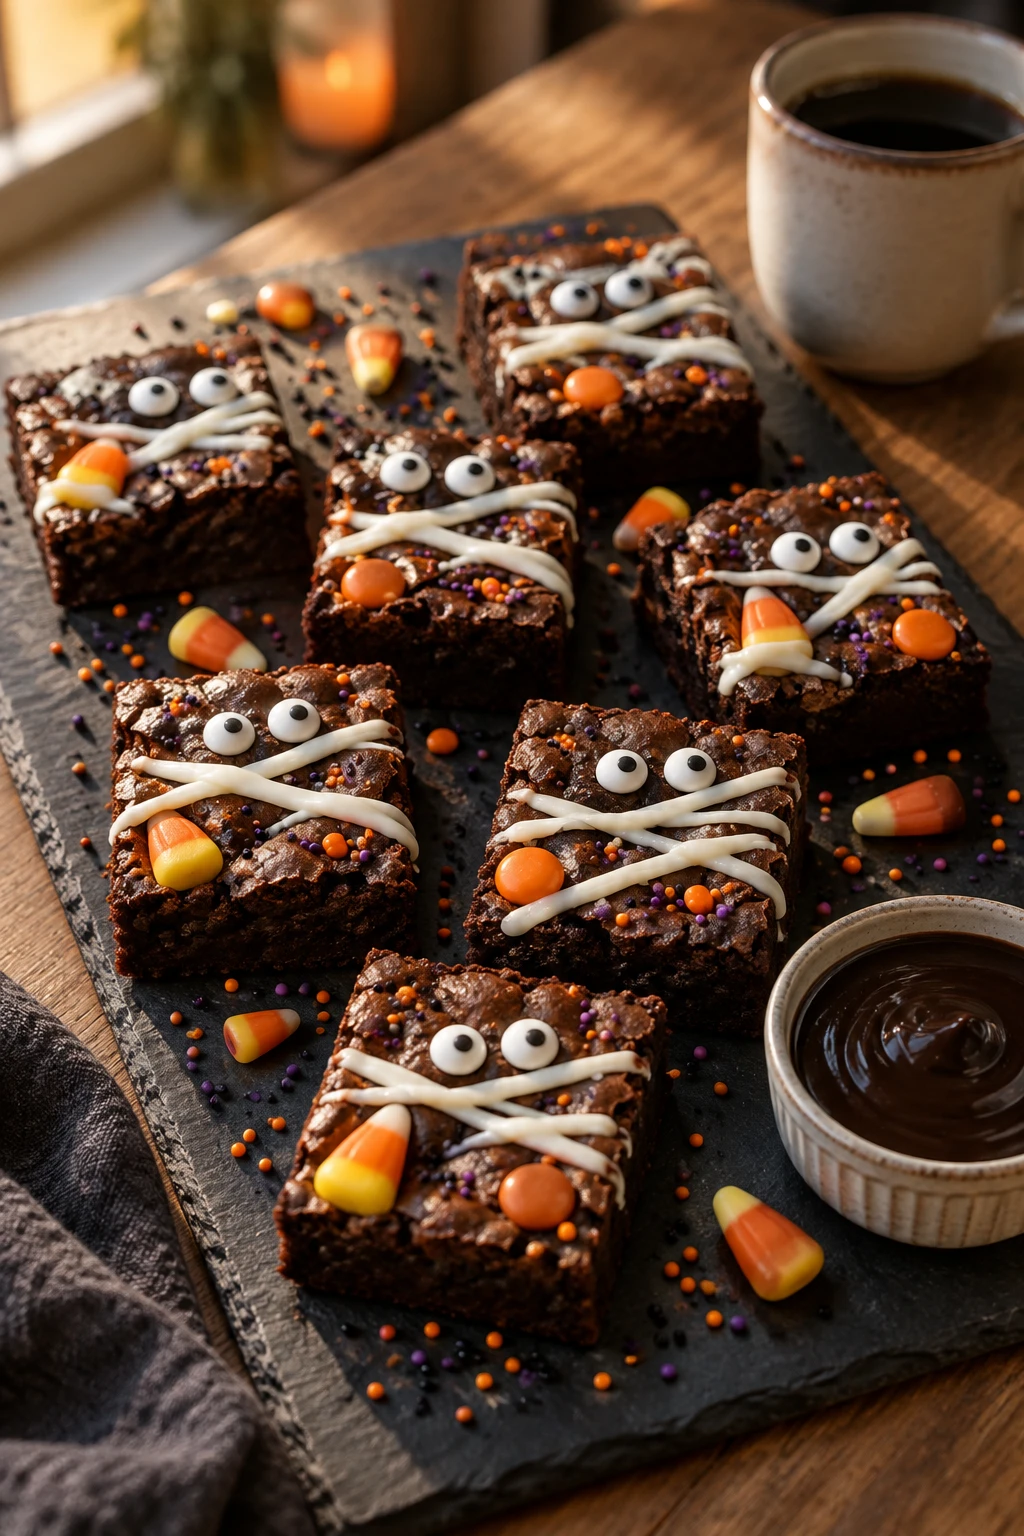
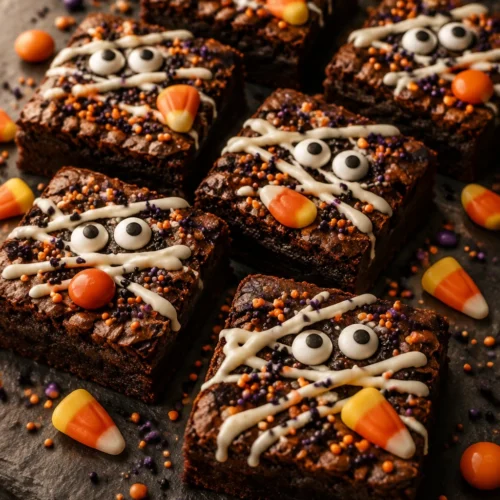
- Mummy brownies: Pipe parallel lines of white chocolate across the top and add two candy eyes at one end of each brownie square for a classic Halloween mummy look.
- Brown butter variation: For extra nuttiness and depth, brown the butter in the saucepan until golden and fragrant before adding the chopped chocolate. Allow it to cool before proceeding.
Serving Suggestions for Halloween Brownies
These brownies are show-stoppers on their own, but a few presentation ideas can take them to the next level:
- Halloween dessert platter: Arrange the squares on a black serving board or slate tile surrounded by candy corn, plastic spider rings, and autumn leaves for a dramatic table centerpiece.
- Warm with ice cream: Briefly microwave a square for 10–12 seconds and serve alongside a scoop of vanilla bean or orange sherbet ice cream. The contrast of warm fudgy brownie and cold ice cream is irresistible.
- Brownie sundae bar: Set out toppings like whipped cream, caramel sauce, crushed Oreos, and extra Halloween sprinkles so guests can build their own spooky sundae.
- Individual party boxes: Wrap single squares in orange parchment and tie with black ribbon for an easy, adorable party favor or bake sale item.
- Dusted with powdered sugar: A light dusting of powdered sugar gives a ghostly, snowy effect over the dark chocolate surface — beautiful and quick.
- Paired with drinks: Serve alongside hot apple cider, pumpkin spice lattes, or a glass of cold milk. The richness of the brownies pairs perfectly with something warm and slightly spiced.
 Save
SaveStorage and Reheating
Room temperature: Store brownies in an airtight container at room temperature for up to 4 days. Place a sheet of parchment between layers to prevent the candy decorations from sticking. Avoid storing in the refrigerator unless your kitchen is very warm — refrigeration dries out the fudgy texture.
Freezing: These brownies freeze exceptionally well. Wrap individual squares tightly in plastic wrap, then place in a zip-lock freezer bag. Freeze for up to 3 months. Thaw at room temperature for 1–2 hours before serving. Note that candy decorations like candy corn may weep or bleed color after freezing — if you plan to freeze, consider adding decorations after thawing.
Reheating: For that fresh-from-the-oven experience, microwave a single brownie on a microwave-safe plate for 10–15 seconds at 50% power. It should be warm and slightly gooey in the center. Do not overheat or the chocolate chips will melt into a puddle and the edges will dry out.
Frequently Asked Questions about Halloween Brownies
Can I use a glass pan instead of a metal pan?
You can, but metal is strongly preferred. Glass heats more slowly and unevenly, which can cause the edges to overbake before the center sets. If you only have a glass pan, reduce the oven temperature to 325°F and add 5 minutes to the bake time, checking closely with the toothpick test.
Why did my brownies turn out cakey instead of fudgy?
The two most common causes are overmixing after adding the flour and overbaking. Fold flour in with a spatula — never a mixer — and stop the moment no dry streaks remain. Also pull the brownies from the oven when the toothpick shows moist crumbs, not when it comes out clean.
When should I add the Halloween candy — before or after baking?
Sprinkles and candy googly eyes can go on right before the pan enters the oven. For heavier candies like candy corn or M&Ms, pressing them in about 5 minutes after the brownies come out of the oven (when the surface has just set) works better and prevents sinking or melting.
Can I make these brownies ahead of time?
Absolutely — these actually taste even better the next day once the flavors have had time to meld and the texture firms up. Bake them the day before your event, cool completely, store in an airtight container at room temperature, and add any additional white chocolate decorations the day of serving.
Can I skip the espresso powder?
Yes, completely. The espresso powder enhances the chocolate flavor but is not detectable as coffee. If you skip it, the brownies will still be delicious — just with a slightly less intense chocolate depth. Do not substitute brewed espresso or coffee, as the added liquid will affect the batter’s ratio.
My brownies crumbled when I tried to cut them. What went wrong?
They needed more cooling time. Fudgy brownies must cool for a minimum of 1–2 hours in the pan before slicing. For the cleanest cuts, refrigerate for an additional 30 minutes after they reach room temperature. Use a plastic knife or a chef’s knife dipped in hot water and wiped dry between each cut.
Can I double this recipe?
This recipe is already scaled for a 9×13-inch pan, which yields 24 squares. If you need more, bake two separate batches in two pans rather than combining into one larger vessel — doubling in a single pan would change the bake depth and timing significantly.
Nutrition Facts (Per Serving)
| Nutrient | Amount Per Serving |
|---|---|
| Calories | 265 kcal |
| Total Fat | 14g |
| Saturated Fat | 8g |
| Total Carbohydrates | 35g |
| Sugar | 27g |
| Dietary Fiber | 1.5g |
| Protein | 3g |
| Sodium | 65mg |
| Values are estimates and may vary based on exact ingredients and portion sizes. | |
Halloween Brownies (Fudgy Decorated)
Ingredients
- 1 cup 226g Unsalted butter, melted
- 2 cups 400g Granulated sugar
- 4 large eggs room temperature
- 1 tsp Vanilla extract
- 1 cup 120g All-purpose flour
- 1/2 cup 43g Unsweetened cocoa powder (Dutch-process preferred)
- 1/2 tsp Salt
- 4 oz 113g Baking chocolate (unsweetened or semisweet), chopped
- 1/4 cup Halloween sprinkles orange/black/purple
- 1/2 cup 100g Light brown sugar
- 1 cup 170g Semisweet chocolate chips
- 1 pack Candy googly eyes
- 1/2 cup Halloween candy M&Ms, candy corn, mini Reese's
- 1 tsp Espresso powder
Instructions
- Preheat your oven to 350°F (177°C). Place a rack in the center position. Line a 9x13-inch metal baking pan with parchment paper, leaving about 1 inch of overhang on the long sides. Lightly grease the parchment. Checkpoint: You are ready to move on when the pan is lined, greased, and the oven light shows it has reached temperature.
- In a medium saucepan, combine the butter and chopped baking chocolate over low heat. Stir constantly for 5–7 minutes until fully melted and smooth. Remove from heat and let the mixture cool for 5–10 minutes — it should no longer feel hot when you hold your hand near it and should not be steaming. Checkpoint: You are ready to move on when the mixture is glossy, smooth, and warm but not hot to the touch.
- In a large mixing bowl, add the eggs, granulated sugar, and brown sugar. Using a hand mixer on medium-high speed, beat for a full 4 minutes. The mixture will turn pale yellow, roughly double in volume, and fall off the beaters in thick, slow ribbons. Do not rush this step — it creates the shiny crackle top. Checkpoint: You are ready to move on when the mixture is visibly pale and leaves a thick ribbon trail that holds for 3–4 seconds before dissolving.
- Pour the cooled chocolate-butter mixture into the egg-sugar bowl. Add the vanilla extract and espresso powder. Whisk by hand for 1–2 minutes until the batter is dark, uniform, and glossy with no streaks. Checkpoint: You are ready to move on when the batter is one smooth, shiny color with no separate layers visible.
- Sift the cocoa powder, flour, and salt directly over the batter. Switch to a rubber spatula and fold gently — use slow, sweeping strokes from the bottom of the bowl upward. Fold only until no white flour streaks remain, about 30–60 seconds. Stop immediately — overmixing builds gluten and makes brownies rubbery. Checkpoint: You are ready to move on when the batter is thick, glossy, and completely uniform with zero dry patches.
- Add the semisweet chocolate chips and fold them in with the spatula for about 30 seconds. Pour the batter into the prepared pan and spread it into an even layer using an offset spatula or the back of a spoon. The surface should be smooth and level.
- Scatter Halloween sprinkles evenly over the top. Press candy googly eyes and Halloween candies (M&Ms, candy corn, or mini Reese's) gently into the surface. Work quickly so the batter does not start to set. Place the pan in the center rack of the oven.
- Bake at 350°F for 28–32 minutes. At the 14-minute mark, rotate the pan 180° for even baking. Starting at 25 minutes, begin testing with a toothpick inserted into the center — you want it to come out with moist fudgy crumbs attached, NOT wet liquid batter and NOT completely clean. Edges should be set and pulling slightly away from the pan sides. Checkpoint: You are ready to pull from the oven when the toothpick shows moist crumbs and the center looks set but still slightly glossy on top.
- Remove the pan from the oven and set it on a wire cooling rack. Do not cut yet. Cool completely in the pan for at least 1–2 hours. The center will firm up significantly as it cools. Checkpoint: You are ready to move on when the brownies feel firm throughout when pressed gently and are no longer warm in the center.
- Optional decoration: Melt white chocolate and transfer to a piping bag or zip-lock bag with a tiny corner snipped. Pipe mummy-bandage lines or spider-web patterns over the cooled brownies. Add additional candy googly eyes. Let the white chocolate set for 10–15 minutes until firm and opaque.
- Lift the brownies out of the pan using the parchment overhang. Place on a cutting board. Slice into 24 squares using a plastic knife or a sharp chef's knife dipped in hot water and wiped dry between cuts for clean edges.