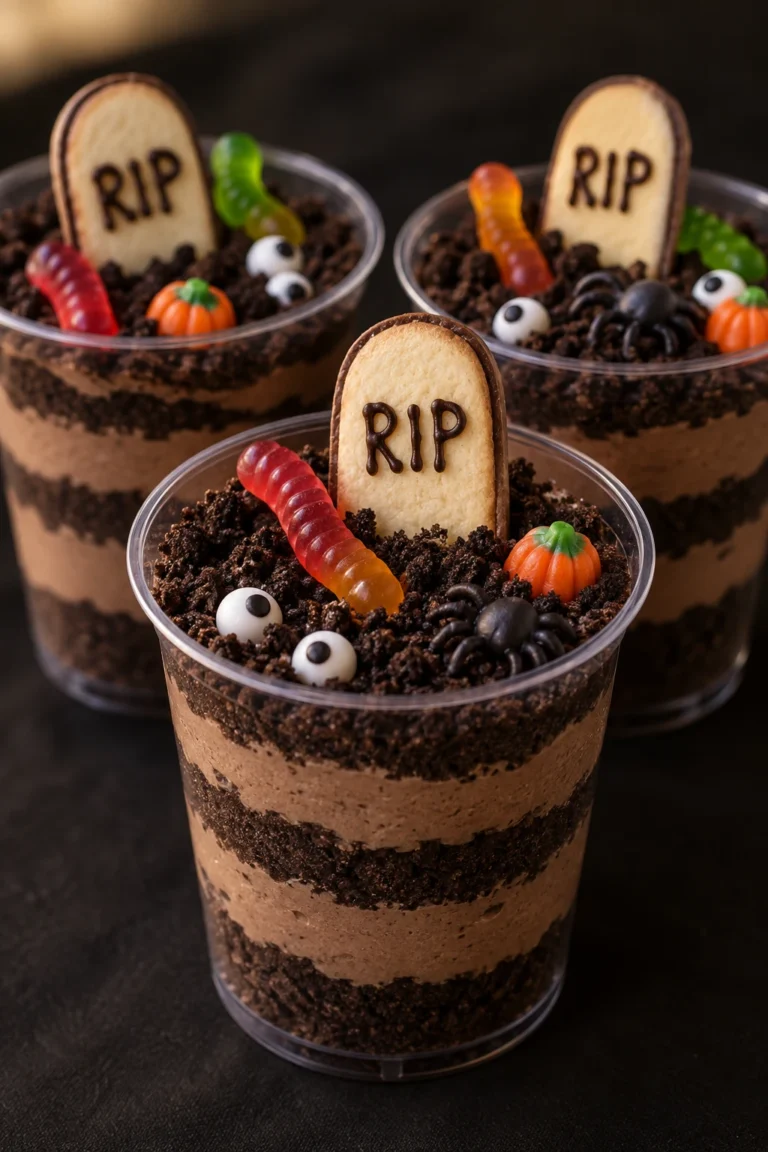
Every October, one dessert earns its place at every Halloween party table — the spooky, irresistible Halloween dirt cups. These creepy-cute treats layer rich chocolate pudding mousse and crushed Oreo “dirt” in clear cups, decorated with gummy worms crawling out of the soil, Milano cookie tombstones, and candy eyeballs peering up at you. They are completely no-bake, endlessly fun to assemble, and a guaranteed crowd-pleaser for kids and adults alike. Best of all, you can make them up to two days ahead.
Reasons to Try Halloween Dirt Cups
- Totally no-bake and stress-free. There is zero oven time involved. You whisk, fold, crush, and layer — that is it. Perfect for busy Halloween party prep.
- The flavor combination is unbeatable. Creamy chocolate pudding mousse paired with the crunch of Oreo crumbs creates a texture contrast that is genuinely addictive. The cream cheese adds a subtle tang and mousse-like richness that elevates the whole cup.
- Make-ahead friendly. You can assemble the cups up to 2 days in advance and simply add the decorations right before the party starts. No last-minute chaos.
- Wildly customizable. Swap decorations, change cup sizes, go bigger with a dirt cup cake — the base recipe is incredibly flexible.
- Kids can help. Crushing Oreos, layering the cups, and pressing gummy worms into the dirt are all tasks little hands love. It doubles as a Halloween activity.
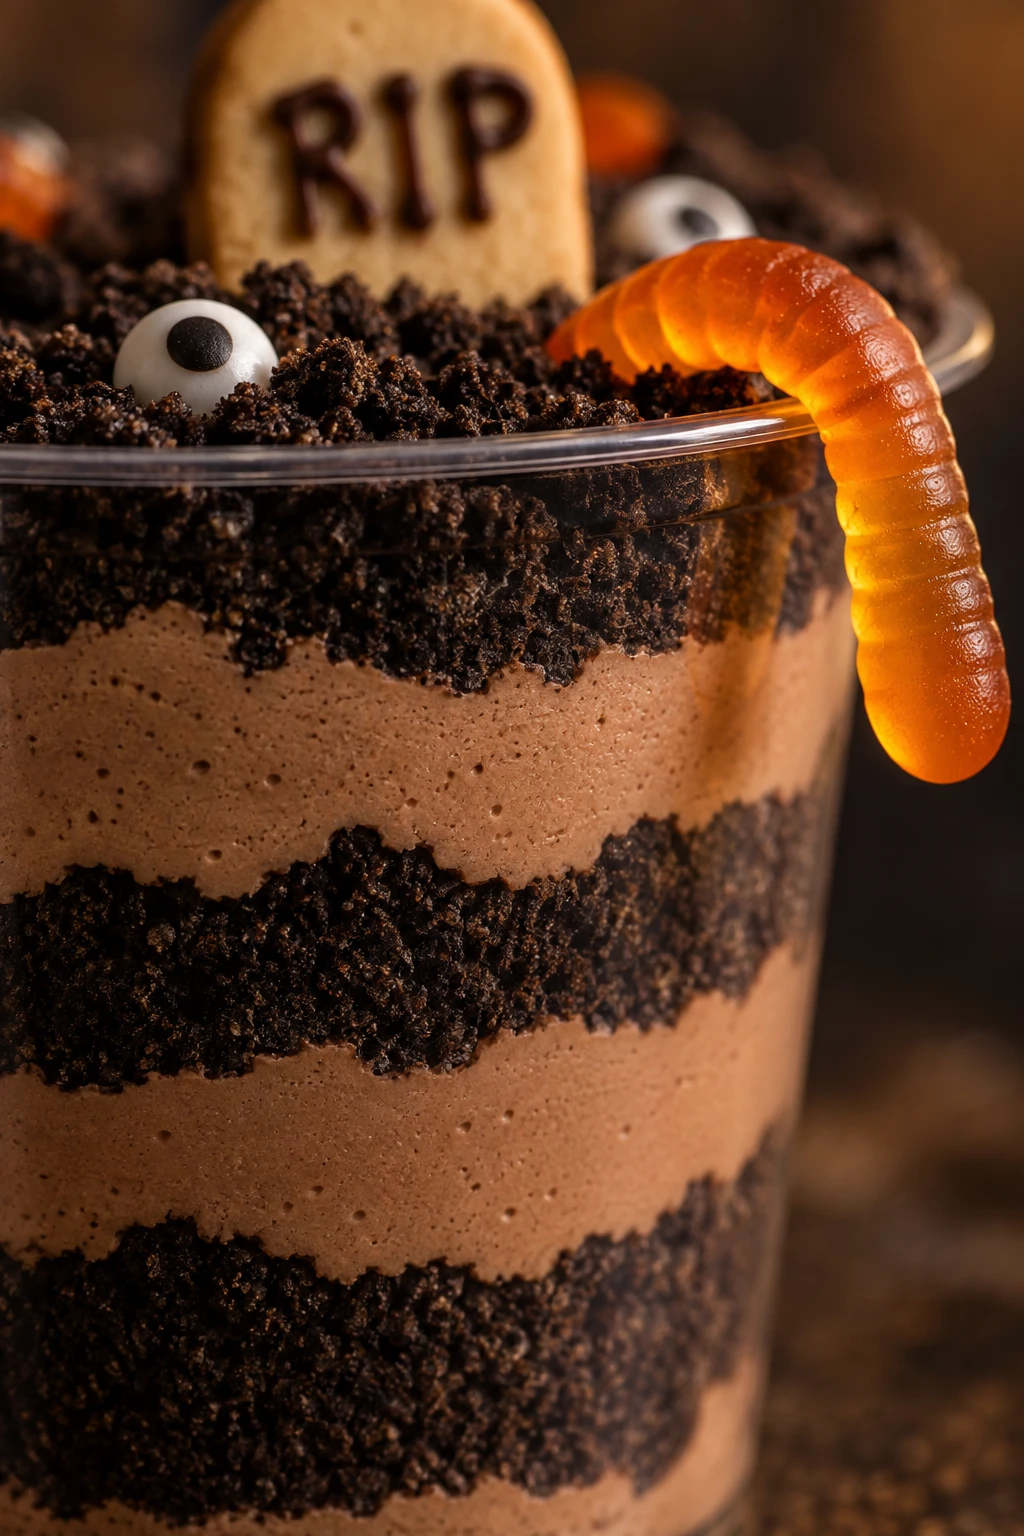
- They look spectacular. Served in clear cups, the dark-and-light layers are visible from the sides, and the graveyard scene on top makes every guest stop and smile before they dig in.
 Save
SaveIngredients Notes
- Instant chocolate pudding mix
- Cold whole milk
- Whipped topping (Cool Whip), fully thawed
- Oreo cookies (chocolate sandwich cookies)
- Gummy worms
- Milano cookies (for tombstones)
- Candy eyeballs
- Cream cheese, softened to room temperature
- Halloween candy (pumpkins, bones, spiders)
- Chocolate chips (for tombstone writing)
How to Make Halloween Dirt Cups
- Crush the Oreo cookies in a food processor until they form fine, soil-like crumbs and set aside.
- Whisk the instant chocolate pudding mix with cold whole milk for 2 full minutes, then let it rest for 5 minutes until thick and set.
- Gently fold the fully thawed Cool Whip into the pudding in two additions until light, airy, and streak-free.
- Refrigerate the pudding mousse mixture for 15–20 minutes to firm it up before layering.
- Layer each clear cup with Oreo crumbs, pudding mousse, more crumbs, more pudding, then a final generous top layer of crumbs.
- Cover loosely with plastic wrap and refrigerate for at least 30–60 minutes until fully set.
- Just before serving, decorate each cup with Milano tombstones, gummy worms, candy eyeballs, and Halloween candy.
What You Must Know About Halloween Dirt Cups
A few key rules will make the difference between a stunning dessert and a soggy, runny mess:
- Use instant pudding only. Cook-and-serve pudding mix will not set properly in this no-bake format. Check the box label before you buy.
- Cold milk is non-negotiable. Warm or room-temperature milk prevents instant pudding from setting correctly. Pull it straight from the refrigerator.
- Fully thaw your Cool Whip. Folding in partially frozen Cool Whip creates lumps and uneven texture. Leave it in the refrigerator overnight to thaw properly.
- Room temperature cream cheese only. Cold cream cheese will clump and leave cheesy lumps throughout your pudding mousse no matter how hard you mix. Give it at least an hour at room temperature.
- Never skip the 5-minute pudding rest. This brief rest period allows the gelatin in the pudding mix to properly activate and thicken. If you fold in the Cool Whip too early, the mixture will be loose and won’t hold its layers.
- Decorate at the last possible minute. Gummy worms, candy eyeballs, and other candy decorations will bleed, harden, or sink into the pudding if they sit too long. Add them right before your guests arrive.
- Use clear cups for maximum visual impact. The whole point of dirt cups is showing off those gorgeous layers. Clear plastic or glass cups make the dark-light-dark striping visible and impressive.
- Tapping your cup on the counter is important. It may seem like a small step, but tapping between layers levels the pudding and prevents uneven, tilted layers that look messy through the cup sides.
Variations and Substitutions
- Dairy-free version: Use coconut milk or oat milk in place of whole milk (check that your instant pudding sets with non-dairy milk — some brands work better than others). Swap Cool Whip for a coconut whipped topping and use dairy-free cream cheese.
- Skip the cream cheese: If you want a simpler recipe or don’t have cream cheese on hand, you can omit it entirely. The cups will still be delicious — just a little lighter in texture.
- Peanut butter dirt cups: Swirl 2–3 tablespoons of creamy peanut butter into the pudding mousse before layering for a chocolate-peanut butter flavor combination.
- Vanilla “dirt” cups: Use vanilla pudding mix instead of chocolate and swap Oreos for Golden Oreos crushed into sandy crumbs. Decorate with beach-themed toys for a summer variation, or keep the Halloween theme with orange and black sprinkles.
- Giant dirt cup cake: Use a large trifle bowl or 9×13-inch dish instead of individual cups to make one big shareable Halloween dessert perfect for a crowd.
- Cookie substitutions: If you can’t find Milano cookies for tombstones, use rectangular shortbread cookies or even large graham cracker pieces. Write on them with a white food marker for extra visibility.
- Add a crunch layer: Mix a handful of mini chocolate chips or crushed chocolate wafer cookies into the Oreo crumbs for extra texture contrast in every bite.
Serving Suggestions for Halloween Dirt Cups
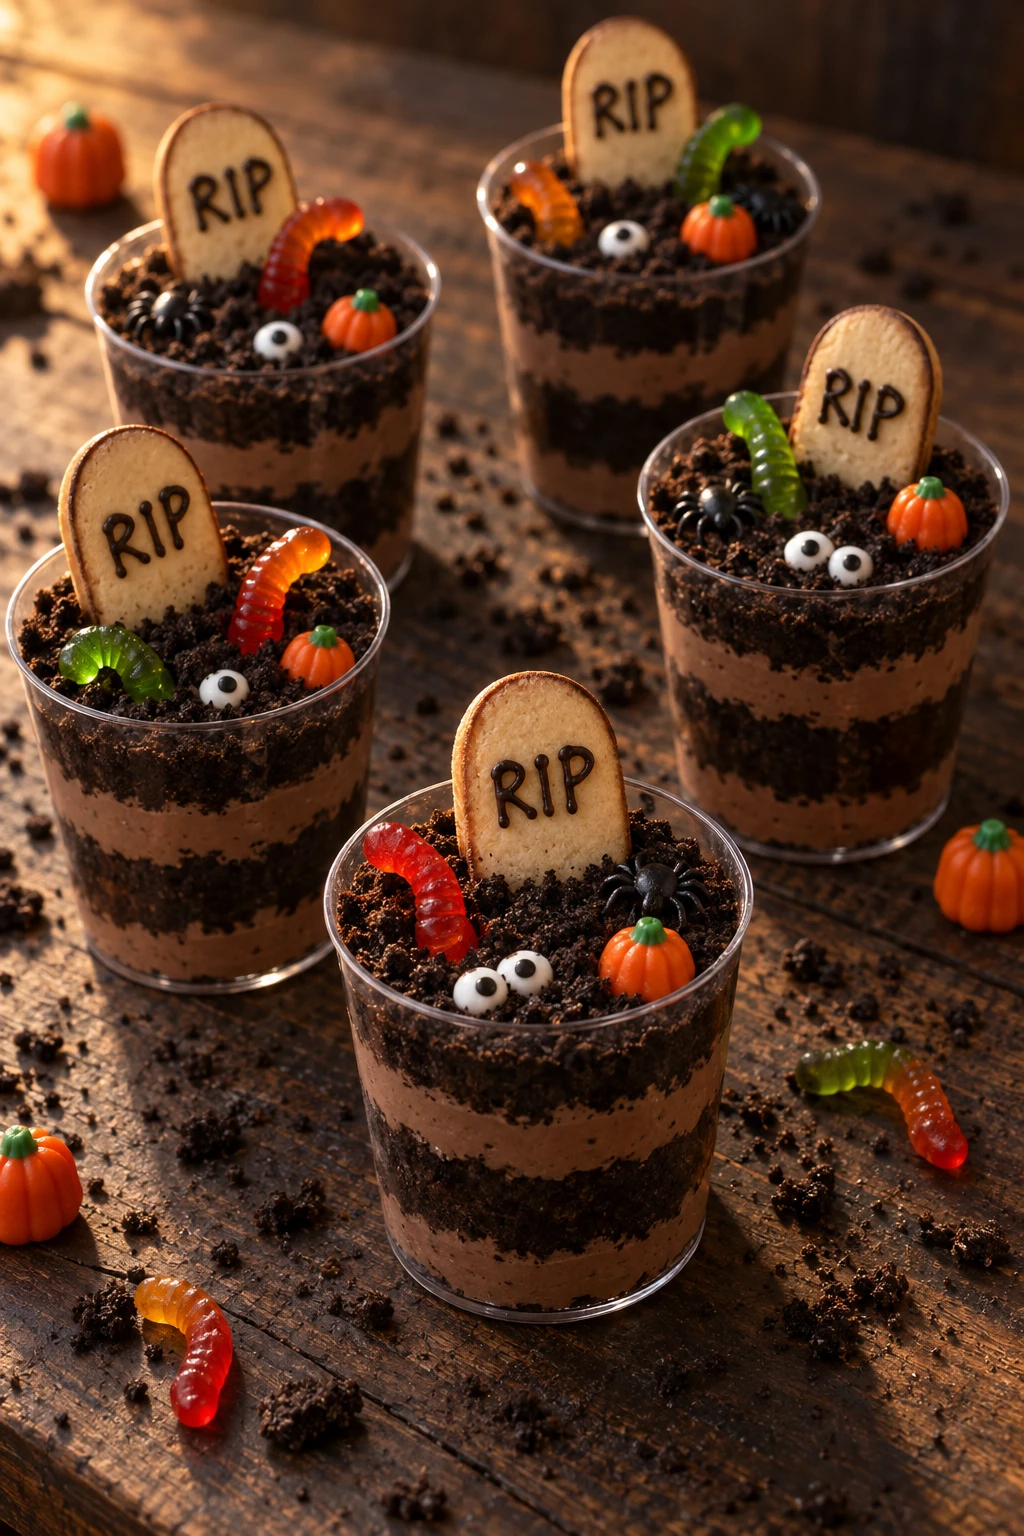
These cups are a showpiece on any Halloween dessert table, but a few thoughtful serving ideas make them even more impressive:
- Set up a decorating station. Lay out the assembled (but undecorated) cups alongside bowls of gummy worms, candy eyeballs, tombstones, and Halloween candy. Let guests — especially kids — decorate their own cups at the party. It becomes an activity and a dessert in one.
- Serve chilled. These cups taste best cold, straight from the refrigerator. Pull them out no more than 15–20 minutes before serving so the pudding stays firm and the layers stay distinct.
- Pair with a Halloween punch. A bubbling orange sherbet punch or a black lemonade alongside the dirt cups creates a full spooky dessert spread.
- Label them for themed parties. Write small signs that say “Graveyard Dirt” or “Monster Mud” and prop them near the cups on your dessert table for extra Halloween atmosphere.
- Serve in terra cotta pots. For an extra creative presentation, spoon the cups into small clean terra cotta flower pots instead of plastic cups. The look is even more convincingly “dirt-like.”
 Save
SaveStorage and Reheating
Halloween dirt cups store beautifully, making them an ideal make-ahead dessert for parties:
- Refrigerator: Store assembled cups (without the top crumb layer and decorations) covered loosely with plastic wrap in the refrigerator for up to 2 days. Keep the Oreo crumbs for the top layer stored separately in a zip-top bag at room temperature to prevent sogginess.
- Adding crumbs and decorations: Add the top Oreo crumb layer and all candy decorations only at serving time, even if the cups have been chilling for 2 days. This keeps the crumbs crunchy and the candy looking fresh.
- Already-decorated cups: If cups have been fully decorated with gummy worms and candy, they are best consumed the same day. After 24 hours, the candy may begin to bleed color into the pudding or absorb moisture from the crumbs.
- Freezing: Freezing is not recommended. The pudding mousse texture becomes grainy and watery after thawing, and the Oreo crumbs lose their texture entirely.
- Reheating: No reheating needed or recommended — these are a cold dessert designed to be served straight from the refrigerator.
Frequently Asked Questions about Halloween Dirt Cups
Can I make Halloween dirt cups the night before?
Yes! You can assemble the layered cups up to 2 days ahead and refrigerate them covered. Just hold off on adding the top Oreo crumb layer and all candy decorations until right before serving to keep everything fresh and textured.
What kind of milk works best for the pudding?
Cold whole milk gives the thickest, creamiest result. You can use 2% milk in a pinch, but avoid skim milk as it yields a thinner, looser pudding that may not hold its layers as well. Non-dairy milks like oat milk or coconut milk can work, but results vary by brand.
Do I have to use cream cheese?
No, cream cheese is optional. It adds richness and a slightly denser mousse-like texture, but the recipe works perfectly well without it. If you skip it, simply fold the Cool Whip directly into the set pudding.
Can I use homemade whipped cream instead of Cool Whip?
You can, but Cool Whip is preferred for this recipe because it is stabilized and holds its texture in the refrigerator for days without deflating. Fresh whipped cream will start to weep and lose volume after a few hours, which affects the mousse texture.
Why are my Oreo crumbs turning soggy?
Oreo crumbs absorb moisture from the pudding over time, especially the top layer. The fix is simple: store the top crumb layer separately and add it only at serving time. The crumb layers inside the cups will soften slightly during chilling, which is perfectly normal and delicious.
What can I use instead of Milano cookies for the tombstones?
Rectangular shortbread cookies, large graham cracker pieces, or any flat, sturdy cookie works well as a tombstone stand-in. Write “RIP” with a white food-safe marker or piped white royal icing for visibility against a darker cookie.
How many cups does this recipe make?
Using 9 oz clear cups, this recipe makes approximately 8–10 individual servings. If you use smaller 5 oz cups, you can stretch it to 12–14 servings. For a crowd, simply double the pudding and Cool Whip quantities.
Can kids help make these?
Absolutely — this is one of the most kid-friendly Halloween recipes out there. Children can crush Oreos in a sealed zip-top bag, help spoon layers into cups, press gummy worms into the dirt, and place tombstones and candy eyeballs. Just handle the melted chocolate for tombstone writing yourself.
Nutrition Facts (Per Serving)
| Nutrient | Amount Per Serving |
|---|---|
| Calories | 380 kcal |
| Total Fat | 15 g |
| Saturated Fat | 7 g |
| Total Carbohydrates | 56 g |
| Sugar | 38 g |
| Dietary Fiber | 1 g |
| Protein | 5 g |
| Sodium | 410 mg |
| Values are estimates and may vary based on exact ingredients and portion sizes. | |
Halloween Dirt Cups
Ingredients
- 2 packages 3.9 oz each Instant chocolate pudding mix (Instant only; cook-and-serve will not set properly in this no-bake format)
- 3-4 cups Cold whole milk Cold milk is essential for instant pudding to set; whole milk yields thicker result
- 8 oz Whipped topping Cool Whip, thawed (Must be fully thawed; stabilized vs. fresh whipped cream preferred for longevity)
- 24-32 cookies Oreo cookies chocolate sandwich cookies (Crushed to fine crumbs; no need to remove filling; generic brand works fine)
- 10-16 pieces Gummy worms Classic Halloween decoration; add just before serving to prevent sogginess
- 6-10 cookies Milano cookies tombstone decorations (Write RIP with edible marker or melted chocolate; insert just before serving)
- 10-16 pieces Candy eyeballs Spooky decoration; add at serving time
- 4-8 oz Cream cheese softened (Must be room temp to avoid lumps; adds richness and mousse-like texture)
- as needed Halloween candy pumpkins, bones, spiders (Thematic decorations; add at serving time only)
- 0.5 cup Chocolate chips for tombstone writing (Melt and pipe RIP onto Milano cookies; microwave in 20-second intervals)
Instructions
- Place 24–30 Oreo cookies into a food processor and pulse until you have fine, dark crumbs that look like soil — about 30 seconds to 1 minute. Transfer crumbs to a bowl and set aside. Checkpoint: You are ready to move on when crumbs are mostly fine and uniform with just a few slightly chunkier pieces.
- Pour 3 cups of cold whole milk into a large bowl. Add both packages of instant chocolate pudding mix. Whisk vigorously for exactly 2 full minutes. The mixture will thicken noticeably. Let it sit undisturbed for 5 minutes at room temperature. Checkpoint: You are ready to move on when pudding mounds slightly on a spoon and holds its shape.
- If using cream cheese, beat 4–8 oz of softened (room temperature) cream cheese in a separate bowl with a hand mixer until completely smooth with no lumps — about 1–2 minutes. Fold the beaten cream cheese gently into the set pudding using a rubber spatula.
- Scoop the fully thawed Cool Whip into the pudding bowl in two separate additions. Use a rubber spatula to fold it in gently — do not stir or beat. Fold just until no white streaks remain, about 1–2 minutes total. The mixture should look light, airy, and mousse-like. Checkpoint: You are ready to move on when the mixture is uniform in color with no visible white streaks.
- Place the pudding mousse into the refrigerator for 15–20 minutes to firm up slightly. This makes layering much cleaner and easier.
- Set out 8–10 clear 9 oz plastic or glass cups. Add 1–2 tablespoons of Oreo crumbs to the bottom of each cup. Tap the cup gently on the counter to level the crumbs.
- Spoon about 1/2 cup of the chilled pudding mousse over the crumb base. Tap the cup again to level the layer. Add 1 tablespoon of Oreo crumbs on top of the pudding. Tap to level.
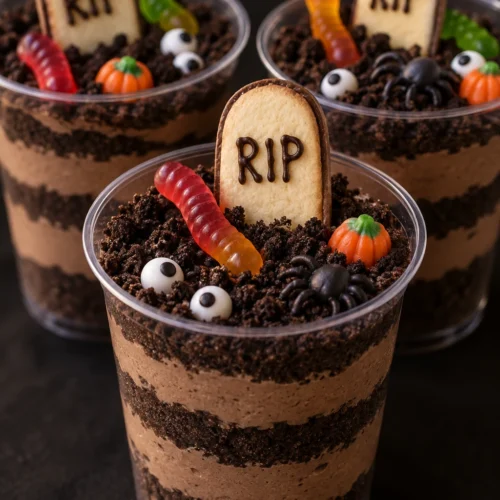
- Add a final layer of about 1/4 cup pudding mousse. Finish with a generous layer of Oreo crumbs across the top so the surface looks like dark soil. Tap one final time to settle everything. Checkpoint: You are ready to move on when you can see distinct dark-light-dark layers through the sides of the clear cup.
- Cover each cup loosely with plastic wrap. Refrigerate for at least 30–60 minutes, or up to 2 days ahead. If making more than a few hours ahead, store the top crumb layer separately in an airtight bag and add it just before decorating.
- Just before serving, melt 1/2 cup of chocolate chips in the microwave in 20-second intervals, stirring between each, until smooth. Transfer to a small piping bag or zip-top bag with a tiny corner snipped. Pipe "RIP" onto Milano cookies and let set for 2–3 minutes.
- Insert the Milano tombstones upright into the Oreo crumb top of each cup. Press gummy worms partially into the crumbs so they look like they are crawling out of the dirt. Add candy eyeballs and any additional Halloween candy decorations. Serve immediately.