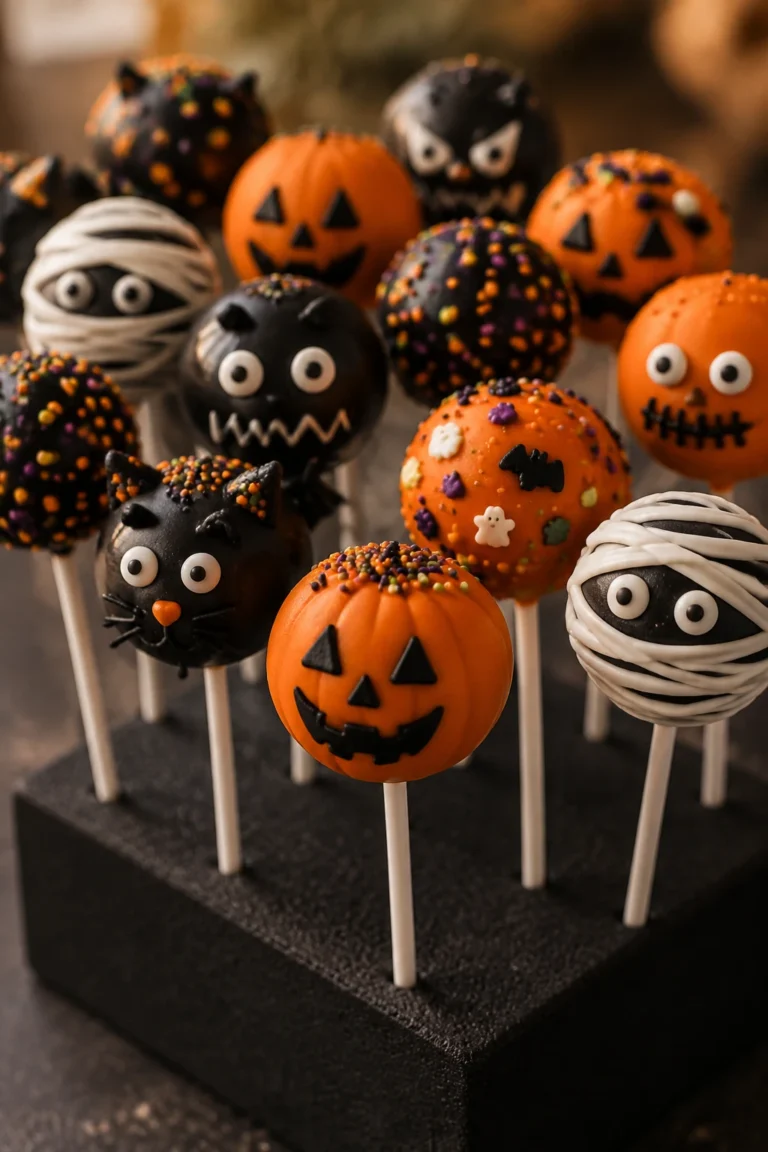
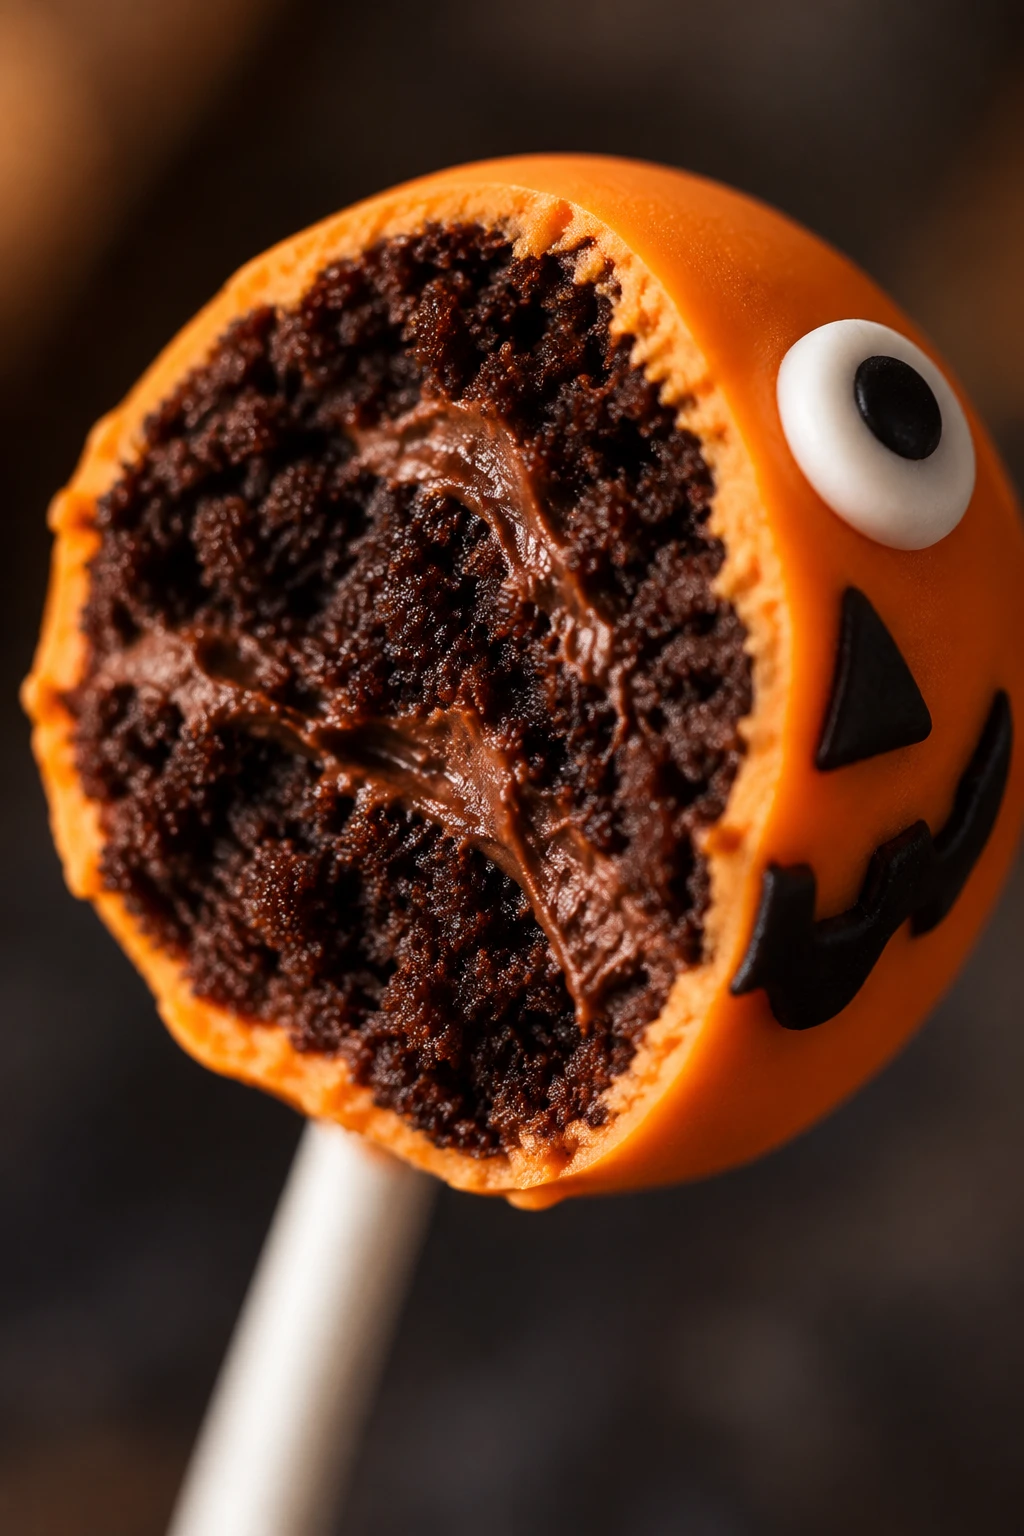
There is no better sweet treat for the spooky season than a batch of Halloween cake pops. These little bites are fun to make, easy to customize, and absolutely irresistible at any Halloween party or school event. With a moist, crumbly cake center coated in smooth orange and black candy melts, they deliver big flavor in a perfectly portable package. Whether you decorate them as jack-o-lanterns, ghosts, or googly-eyed monsters, these festive treats never fail to impress both kids and adults alike.
Reasons to Try Halloween Cake Pops
- Endlessly customizable: You can use any cake flavor — chocolate, vanilla, or red velvet — and decorate each pop differently, making every single one a tiny edible work of art.
- Perfect party food: No slicing, no plates, no forks needed. Guests simply grab a stick and enjoy, which makes these ideal for Halloween parties, school events, and trick-or-treat gatherings.
- Kid-friendly fun: Children absolutely love decorating these with candy eyeballs, sprinkles, and gel icing faces. It doubles as a creative Halloween activity.
- Great make-ahead treat: You can bake the cake, roll the balls, and even dip them a day or two in advance, making party prep so much less stressful.
- Impressive on a budget: One box of cake mix yields around 40–46 pops — a crowd-pleasing result that costs very little per serving.
 Save
SaveIngredients Notes
- Box cake mix (chocolate, vanilla, or red velvet)
- Eggs
- Vegetable oil
- Water
- Frosting (store-bought or homemade)
- Candy melts (orange and/or black)
- Lollipop sticks (6-inch)
- Styrofoam block or cake pop stand
- Vegetable shortening or coconut oil
- Halloween sprinkles
- Candy eyeballs
- Black gel writing icing
- Parchment or wax paper
How to Make Halloween Cake Pops
- Bake the cake mix in a 9×13-inch pan according to box directions, then cool completely on a wire rack for 60–90 minutes.
- Crumble the cooled cake into fine crumbs, then mix in frosting one tablespoon at a time until the mixture holds a ball when pressed.
- Scoop and roll the mixture into 1–1.5 inch balls, place on a parchment-lined baking sheet, and refrigerate until firm.
- Melt a small amount of candy coating, dip each lollipop stick tip about 1/2 inch in, then insert halfway into each chilled ball; refrigerate again until set.
- Melt orange and black candy melts separately, thinned with shortening, in tall narrow glasses ready for dipping.
- Let pops rest 5 minutes at room temperature, then dip each one fully, tap off the excess, and add decorations immediately.
- Stand pops upright in a foam block to set, then use black gel icing to draw festive Halloween faces once the coating is fully hardened.
What You Must Know About Halloween Cake Pops
Before you start, keep these critical points in mind to avoid the most common mistakes:
- Cooling the cake is non-negotiable. Crumbling a warm cake is the single most common mistake. The heat adds unwanted moisture, making the mixture impossible to roll and causing the pops to be soggy and fall apart.
- Less frosting is always better. It is tempting to add more for extra flavor, but anything over 1/2 cup per box results in a mushy, overly rich texture. Add it gradually and stop the moment the crumbs bind together.
- Keep the balls small. Balls larger than 1.5 inches are too heavy and will slide or fall off the stick when dipped. A small cookie scoop is your best tool for consistent sizing.
- Microwave candy melts low and slow. Full microwave power will scorch and seize the coating immediately. Stick to 50% power and 15–20 second intervals every single time.
- Use a tall narrow glass for dipping. A regular bowl makes it difficult to fully submerge the pop in one smooth motion. A tall glass of melted coating gives you the depth and ease you need for a clean, even coat.
- Tap your wrist, not the stick. Tapping the stick directly causes vibration that can loosen the cake ball from the stick. A gentle wrist tap removes excess coating without putting stress on the connection point.
- Add decorations immediately. The candy coating sets fast — you have roughly 30–60 seconds after dipping to press in sprinkles and candy eyeballs before they won’t stick anymore. Work one pop at a time.
Variations and Substitutions
- Red velvet Halloween pops: Use red velvet cake mix and cream cheese frosting for a dramatically dark interior that looks stunning when bitten into. Perfect for a spooky reveal moment at a party.
- Chocolate spider pops: Dip in black candy melts, then use a toothpick to draw orange spider webs while the coating is still wet. Add a small plastic spider ring on top for extra drama.
- Ghost cake pops: Use white candy melts, add two small candy eyeballs, and draw a tiny open mouth with black gel icing for the simplest yet most adorable Halloween design.
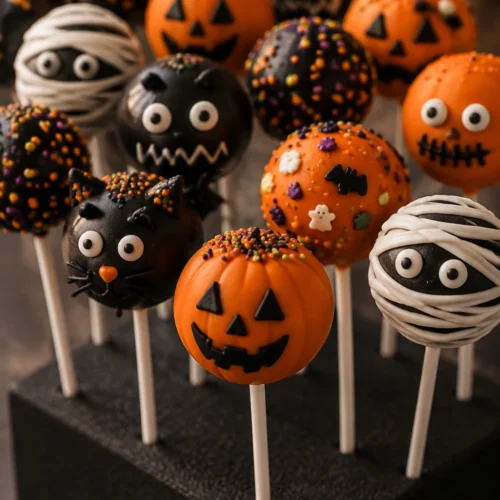
- Mummy pops: Coat in white candy melts, then drizzle zigzag lines of additional white coating to mimic bandage wrapping. Add two candy eyeballs peeking through.
- Homemade frosting substitute: If you don’t have store-bought frosting, a few tablespoons of cream cheese or a simple buttercream (butter plus powdered sugar) work beautifully as a binder.
- Coconut oil instead of shortening: Coconut oil thins candy melts just as effectively as vegetable shortening and adds a very subtle sweetness to the coating.
- Gluten-free version: Simply swap in a gluten-free box cake mix — everything else in the recipe stays exactly the same.
Serving Suggestions for Halloween Cake Pops
Presentation is half the fun with Halloween cake pops! Here are some creative ways to serve and display them:
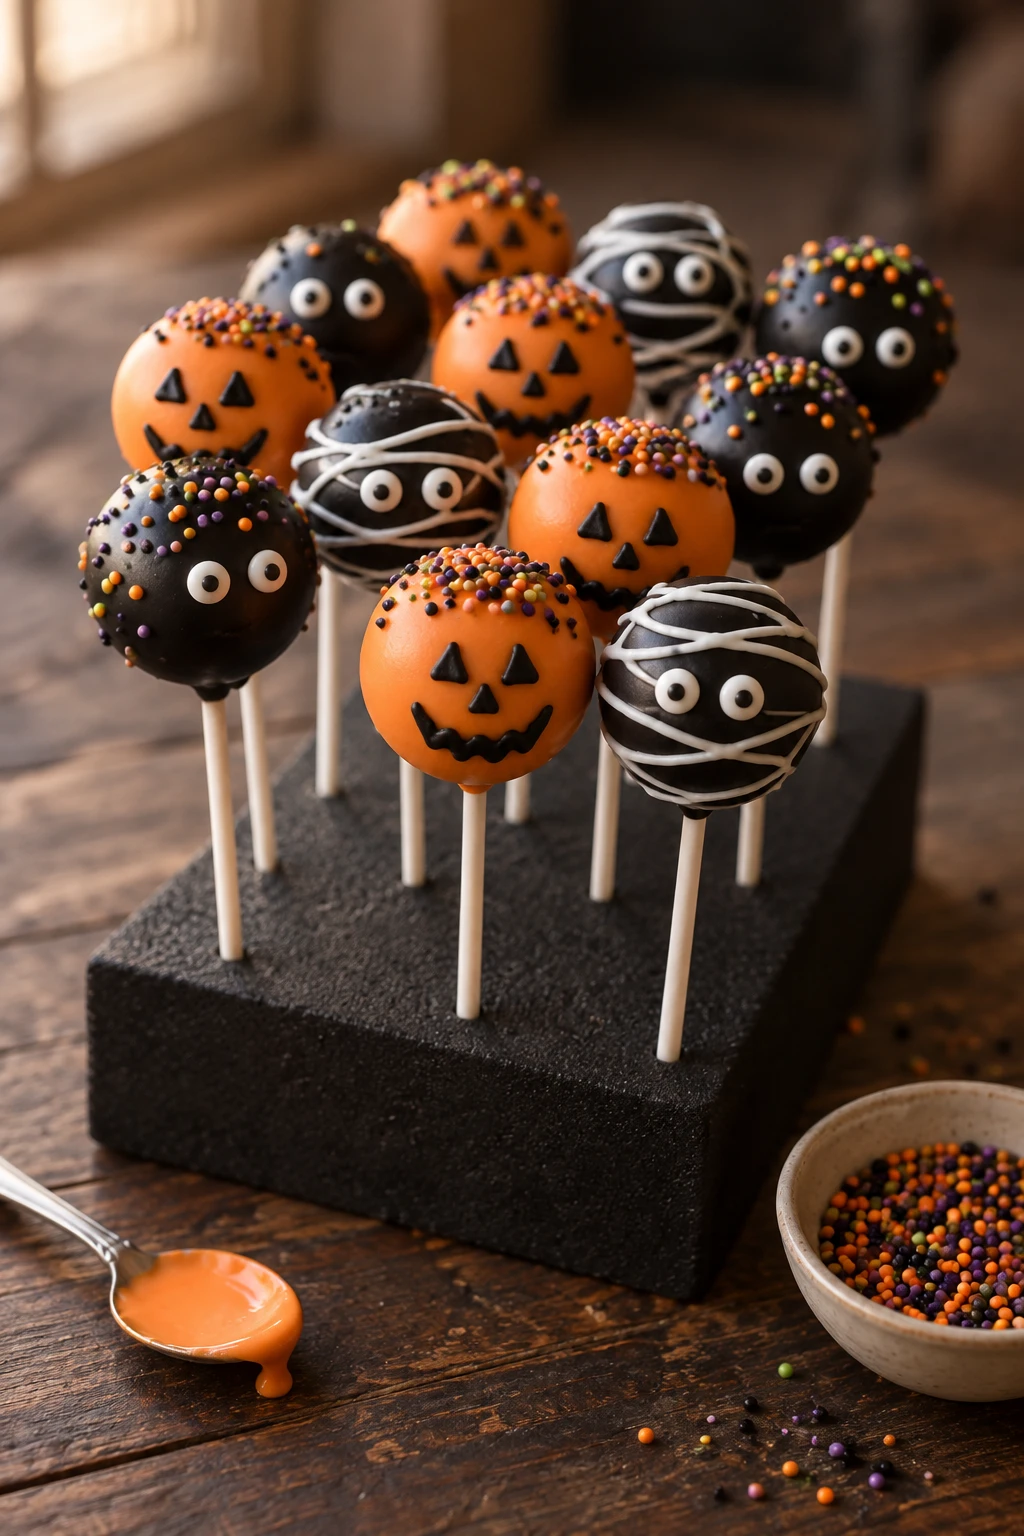
- Foam block centerpiece: Push all the finished pops into a large Styrofoam block wrapped in black or orange tissue paper for a stunning self-serve display at a Halloween party table.
- Individual treat bags: Wrap each pop in a small clear treat bag tied with a black or orange ribbon for a festive take-home gift that kids will love.
- Cauldron display: Fill a small plastic cauldron with floral foam or crumpled paper, then insert the pops to create a bubbling cauldron of treats as a Halloween centerpiece.
- Alongside hot drinks: Serve a platter of cake pops next to warm apple cider or hot chocolate at a Halloween gathering — the combination is cozy and completely irresistible.
- Dessert table addition: Mix cake pops with other Halloween sweets like candy corn, cookies, and brownies for a full spooky dessert spread. Vary the decorations so every pop looks unique and guests want to grab more than one.
 Save
SaveStorage and Reheating
Proper storage keeps your Halloween cake pops fresh and the coating perfectly intact:
- Room temperature: Once fully set and decorated, cake pops can be stored at room temperature in an airtight container or individually wrapped in treat bags for up to 1 week. Keep them away from direct sunlight or heat, which can melt the coating.
- Refrigerator: Store in an airtight container in the refrigerator for up to 2 weeks. Note that condensation can form on the coating when pops are moved from cold to warm air, causing the surface to look spotty — this is purely cosmetic and does not affect flavor.
- Freezer: Undipped cake balls (without sticks) freeze beautifully for up to 6 weeks. Wrap the baking sheet tightly in plastic wrap, freeze until solid, then transfer to a freezer-safe bag. Thaw overnight in the refrigerator before inserting sticks and dipping.
- Make-ahead tip: You can bake and crumble the cake and roll the balls up to 2 days ahead. Keep them covered in the refrigerator until you are ready to insert the sticks and dip.
Frequently Asked Questions about Halloween Cake Pops
Why do my cake pops keep falling off the stick?
This is the most common issue and it almost always comes down to two things: not dipping the stick tip in melted coating before inserting it into the ball, and not chilling the balls long enough. Always dip the stick first — this acts as glue. Make sure cake balls are thoroughly chilled for at least 30–60 minutes before sticking, and another 15–20 minutes after inserting the sticks. Also keep the balls no larger than 1.5 inches, as heavier balls place too much stress on the stick connection.
Can I use a homemade cake instead of a box mix?
Absolutely! Any baked cake works for this recipe — homemade, box mix, or even leftover cake. The key is using a moist, tender crumb that binds well with frosting. Dense or very dry homemade cakes may need a tiny bit more frosting to bind properly, so add it gradually as always.
Why is my candy coating cracking after I dip?
Cracking happens when there is too large a temperature difference between a very cold cake ball and warm melted coating. Let your chilled cake pops rest at room temperature for 5 minutes before dipping to close that gap. If you froze the balls, let them sit even longer — about 10 minutes — before dipping.
Can I use chocolate chips instead of candy melts?
You can, but it is not ideal. Real chocolate seizes more easily, requires tempering for a glossy finish, and melts at body temperature, which means the coating can get messy when held. Candy melts are specifically formulated for dipping and set firm at room temperature, making them a much more reliable choice for cake pops.
How far in advance can I make Halloween cake pops?
You can make them up to 2 days ahead and store them in an airtight container in the refrigerator. For longer prep, freeze the uncoated, undecorated cake balls for up to 6 weeks and dip them closer to your event. Add gel icing decorations on the day of serving for the freshest look.
My candy melts are too thick to dip smoothly. What do I do?
Add vegetable shortening or coconut oil, one tablespoon at a time, stirring well after each addition until the coating reaches a smooth, fluid consistency. Also make sure you are microwaving at 50% power in 15–20 second intervals — overheating thickens and seizes the melts rather than thinning them.
Can I make these without a Styrofoam block?
Yes! A cake pop stand works perfectly, or you can improvise by poking holes in a cardboard box or a thick piece of corrugated cardboard. In a pinch, you can also lay finished pops on a parchment-lined baking sheet to set, though the underside of the coating may flatten slightly.
How many cake pops does one box of cake mix make?
One standard box of cake mix (15–15.25 oz) yields approximately 40–46 cake pops when rolled into 1–1.5 inch balls. The exact number depends on how consistently you size them. Using a small cookie scoop is the best way to ensure uniform, consistent portions every time.
Nutrition Facts (Per Serving)
| Nutrient | Amount Per Serving (1 cake pop) |
|---|---|
| Calories | 145 kcal |
| Total Fat | 7 g |
| Saturated Fat | 4 g |
| Total Carbohydrates | 20 g |
| Sugar | 14 g |
| Fiber | 0.5 g |
| Protein | 1.5 g |
| Sodium | 115 mg |
| Values are estimates and may vary based on exact ingredients and portion sizes. | |
Halloween Cake Pops
Ingredients
- 1 box 15–15.25 oz Box cake mix (chocolate, vanilla, or red velvet)
- 3 large Eggs
- 1/2 cup Vegetable oil
- 1 cup Water
- 1/3 –1 cup Frosting store-bought or homemade
- 16 –20 oz total Candy melts orange and/or black
- 40 –46 sticks 6-inch Lollipop sticks
- 1 block Styrofoam block or cake pop stand
- 1 –3 tbsp Vegetable shortening or coconut oil
- as needed Halloween sprinkles
- as needed Candy eyeballs
- 1 tube Black gel writing icing
- 1 sheet Parchment or wax paper
Instructions
- Preheat your oven to 350°F (175°C). Grease a 9x13-inch baking pan or line it with parchment paper.Checkpoint: You are ready to move on when the oven is fully preheated and the pan is prepared.
- Prepare the cake mix according to box directions using the eggs, vegetable oil, and water. Pour the batter into the prepared pan and bake for 28–33 minutes on the center rack. The cake is done when a toothpick inserted in the center comes out clean and the edges pull slightly away from the pan.
- Remove the cake from the oven and let it cool completely on a wire rack at room temperature for 60–90 minutes. Do not rush this step — warm cake creates a wet, sticky mixture that won't roll properly.Checkpoint: You are ready to move on when the cake feels completely cool to the touch with no warmth remaining.
- Break the cooled cake into chunks and crumble it into a large bowl by hand or pulse briefly in a food processor until no large lumps remain. You want fine, even crumbs throughout.
- Add frosting 1–2 tablespoons at a time, mixing well after each addition. Stop adding frosting when the mixture just holds together when you press a small amount in your palm — about 1/3 to 1/2 cup total. The mixture should not feel wet, sticky, or leave residue on your fingers.Checkpoint: You are ready to move on when the mixture holds a ball shape without cracking or feeling greasy.
- Use a small cookie scoop or tablespoon to portion the mixture. Roll each portion between your palms into a smooth 1–1.5 inch ball. Place balls on a parchment-lined baking sheet without touching each other.
- Refrigerate the cake balls for 30–60 minutes until they are firm and hold their shape without flattening when pressed lightly.Checkpoint: You are ready to move on when the balls feel solid and cold all the way through.
- Place 2 tablespoons of candy melts in a microwave-safe bowl. Microwave at 50% power in 15-second intervals, stirring between each, until fully melted and smooth. This takes about 1–2 minutes total. Dip the tip of each lollipop stick about 1/2 inch into the melted coating, then insert the stick halfway into a chilled cake ball. Repeat for all balls.
- Return the cake pops (sticks up) to the baking sheet and refrigerate for 15–20 minutes until the coating at the base of each stick is fully hardened and holds the stick firmly in place.Checkpoint: You are ready to move on when the sticks do not wiggle when gently nudged.
- Melt the orange and black candy melts separately in microwave-safe bowls at 50% power in 15–20 second intervals, stirring each time, for about 2–3 minutes total. Add 1 tablespoon of vegetable shortening per 8 oz of melts and stir until the coating is smooth, glossy, and fluid. Pour each color into a tall narrow glass for easier dipping.
- Remove the cake pops from the refrigerator and let them rest at room temperature for 5 minutes. This prevents the coating from cracking due to temperature shock.
- Hold one pop by the stick and dip it straight down into the melted coating until fully submerged. Lift it out and tap your wrist gently — not the stick — to let excess coating drip off. The coating should look smooth, even, and opaque with no bare spots.
- Immediately while the coating is still wet, add Halloween sprinkles, candy eyeballs, or other decorations. Work quickly — the coating begins setting within 1–2 minutes. Stand each finished pop upright in a Styrofoam block or cake pop stand.
- Allow all pops to set completely at room temperature or in the refrigerator for 15–30 minutes until the coating is fully hardened and no longer tacky to the touch.
- Once set, use the black gel writing icing to draw jack-o-lantern faces, mummy wrapping, monster expressions, or spiderweb details on each pop. Let the gel dry for 5–10 minutes before serving or packaging.