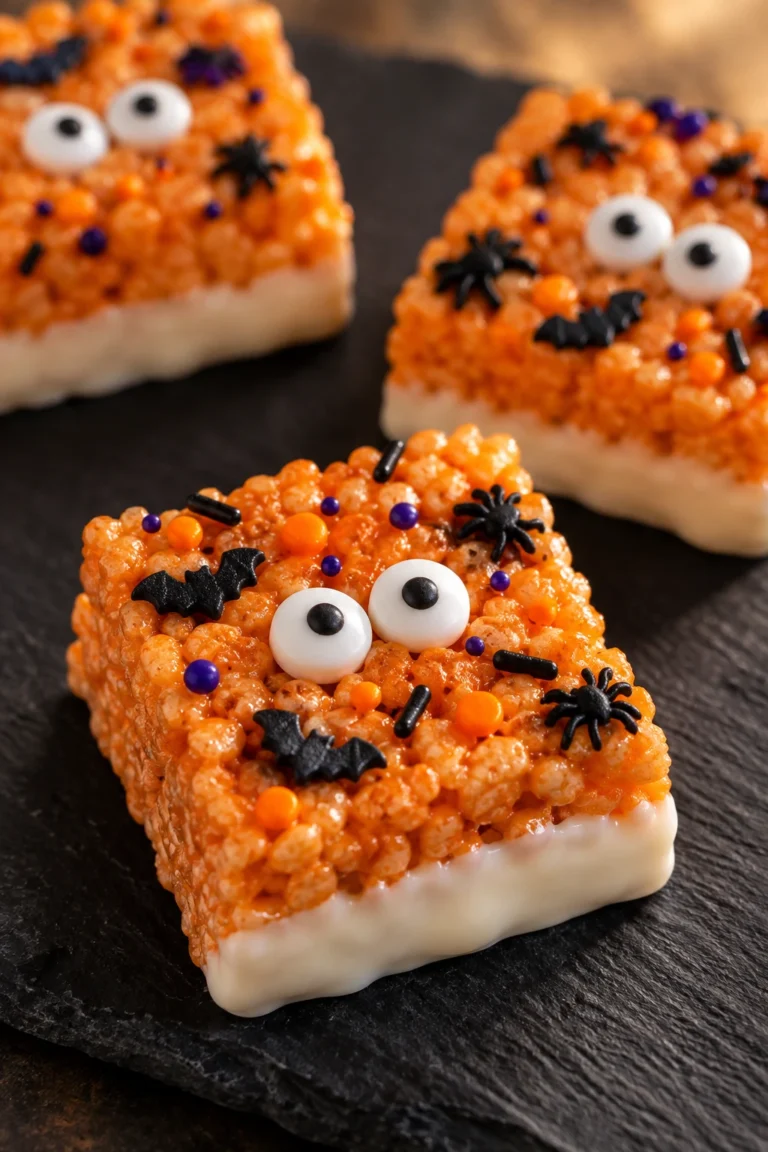
Every Halloween dessert table needs something festive, fun, and ridiculously easy to make — and these Halloween Rice Krispie Treats deliver on all three. Loaded with vibrant orange color, spooky sprinkles, and an optional candy melt coating, these gooey, crispy bars are a crowd-pleasing no-bake treat the whole family can enjoy. Whether you’re making them for a classroom party, trick-or-treat night, or just because the season calls for it, this recipe is your go-to guide for perfectly soft, spooky, and totally irresistible treats.
Reasons to Try Halloween Rice Krispie Treats
These aren’t your average after-school snack. Here’s why this recipe stands out from the cauldron:
- Perfectly gooey texture: Using extra butter and fresh mini marshmallows creates bars that are soft, chewy, and gooey — never dry or rock hard.
- Stunning orange color: Gel food coloring gives these treats a deep, vibrant Halloween hue that stays vivid even after the cereal is folded in.
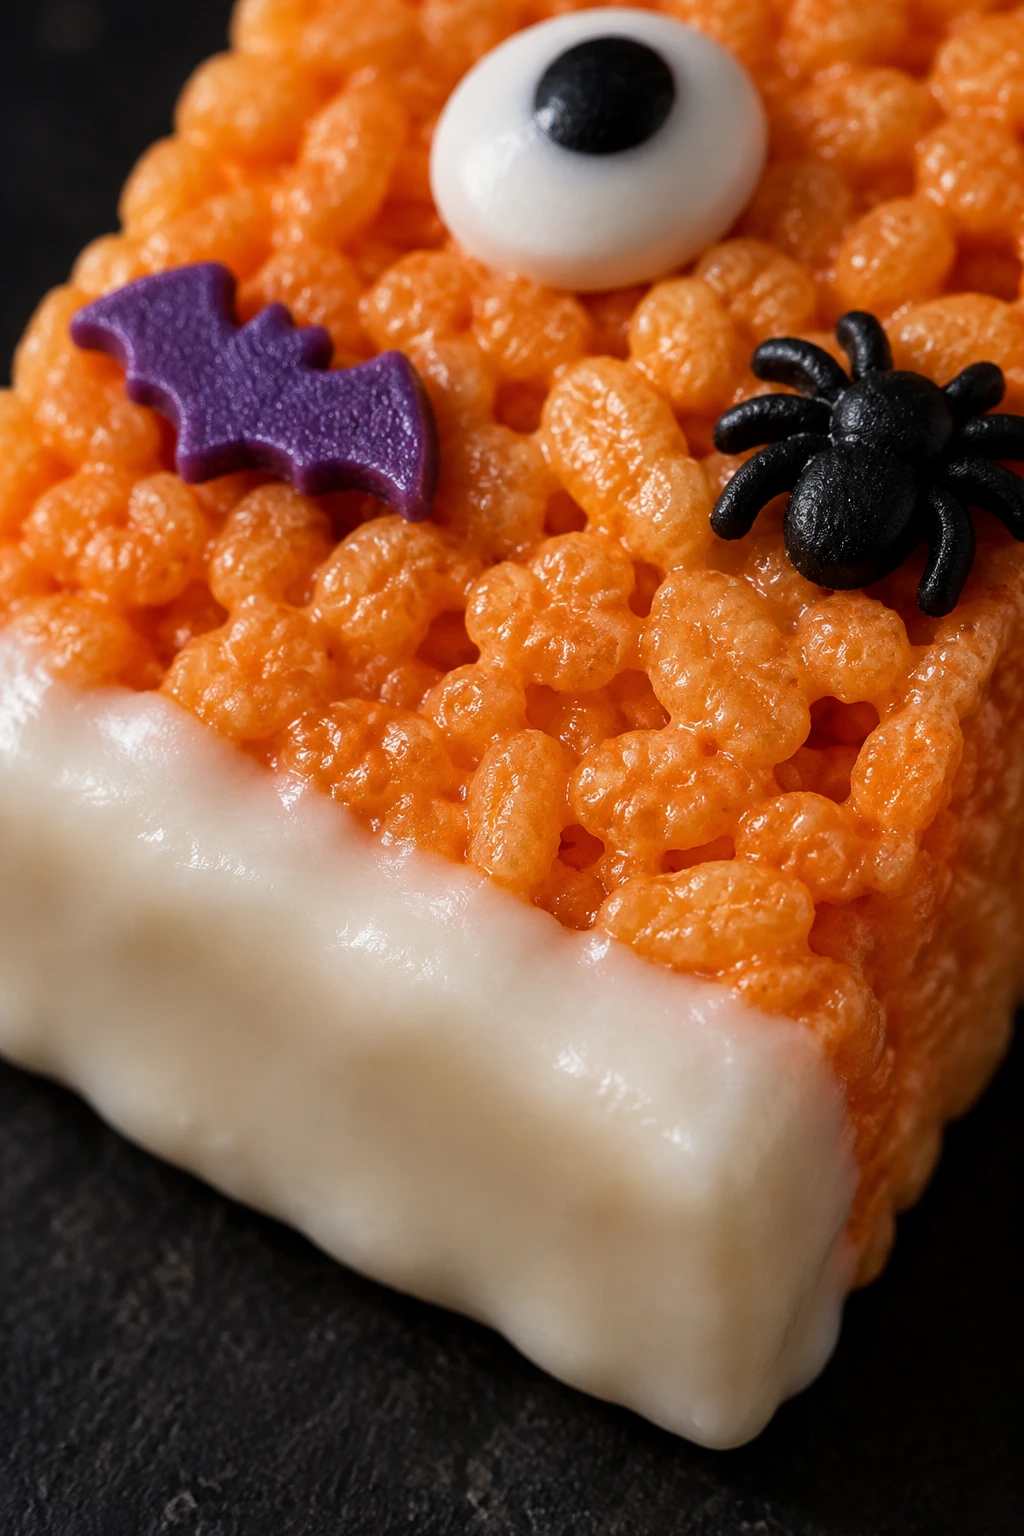
- Customizable decorations: From candy eyes to ghost-shaped cookie cutters to a white chocolate dip, there are dozens of fun ways to make each batch unique.
- No-bake and beginner-friendly: This recipe requires just one pot, a pan, and about 20 minutes of active time — perfect for little helpers in the kitchen.
- Make-ahead magic: These treats hold up well for several days, making them ideal for prepping ahead of your Halloween party.
- Flavor that goes beyond basic: A touch of vanilla and a pinch of salt transform a simple marshmallow treat into something that genuinely tastes elevated and homemade.
 Save
SaveIngredients Notes
- Rice Krispies cereal
- Mini marshmallows
- Unsalted butter
- Orange gel food coloring
- Vanilla extract
- Salt (kosher or fine)
- Halloween sprinkles
- Candy eyes (edible)
- White or colored candy melts or chocolate chips
- Coconut oil
How to Make Halloween Rice Krispie Treats
- Line a 9×13-inch pan with parchment paper and coat with nonstick spray.
- Melt butter in a large saucepan over low to medium-low heat until fully liquid.
- Add mini marshmallows and stir constantly until completely smooth and glossy.
- Remove from heat, then stir in vanilla, salt, and orange gel food coloring until deeply saturated.
- Fold in the Rice Krispies cereal quickly until every piece is evenly coated in orange marshmallow.
- Transfer to the prepared pan and gently press into an even layer — do not pack down firmly.
- Immediately press on Halloween sprinkles and candy eyes while the surface is still warm.
- Cool at room temperature for 30 to 60 minutes until firm, then cut into rectangles or use Halloween cookie cutters.
- Optionally, dip treats in melted candy melts thinned with coconut oil, decorate further, and let set completely before serving.
What You Must Know About Halloween Rice Krispie Treats
Before you fire up the stove, keep these critical points in mind to guarantee perfect results every time:
- Low and slow is the golden rule: Rushing the butter or marshmallow melt over high heat is the number-one reason treats turn out hard. Keep the heat at low to medium-low throughout — patience is your best ingredient here.
- Fresh ingredients are non-negotiable: Both the Rice Krispies cereal and the mini marshmallows must come from freshly opened packages. Stale marshmallows lack moisture, melt unevenly, and produce tough, dry bars. Old cereal goes stale fast and creates a gummy texture.
- Gel coloring only: Liquid food coloring adds water to the marshmallow mixture, which can thin it out and mess with the texture. Always use gel paste coloring, and add it after you’ve removed the pot from the heat.
- Don’t pack the pan: It’s tempting to press firmly to get a flat surface, but over-compressing crushes the air pockets in the cereal and leads to dense, chewy bars. A light touch gives you that airy, gooey texture everyone loves.
- Grease everything that touches the mixture: Spray your spatula and your hands with nonstick spray before working with the marshmallow mixture. It clings to everything and becomes nearly impossible to work with if your tools aren’t greased.
- Work quickly once cereal is added: Once you fold in the cereal, the mixture starts setting fast. Have your pan prepped and decorations ready to go before you even turn on the stove.
- Make the color bolder than you think: The orange color always lightens significantly once you fold in the pale cereal. Aim for a deep, dark orange in the marshmallow mixture and it will bake out to a gorgeous pumpkin shade.
Variations and Substitutions
- Different shapes: Skip the rectangular cuts entirely and use Halloween-themed cookie cutters — ghosts, pumpkins, bats, and skulls all work beautifully. Press the cutter firmly but gently into the cooled slab.
- Swap the color: Make purple treats with purple gel food coloring for a witchy vibe, or skip the coloring entirely and go for classic white treats with black and orange sprinkles on top.
- Chocolate variations: Use black candy melts for a dramatic gothic look, orange candy melts to double down on the Halloween theme, or classic dark chocolate for a richer flavor profile.
- Butter adjustment: If you love an extra gooey, almost caramel-like bar, use the full 6 tablespoons of butter. For a slightly firmer bar that’s easier to cut and handle, use 4 tablespoons.
- Add mix-ins: Fold in 1/2 cup of Halloween M&Ms, mini chocolate chips, or candy corn along with the cereal for a fun flavor and color surprise in every bite.
- Gluten-free version: Rice Krispies cereals contain malt flavoring derived from barley, so they are not certified gluten-free. Substitute with a certified gluten-free puffed rice cereal for a gluten-free treat with the same texture.
- Dairy-free version: Swap the butter for a high-quality vegan butter (not margarine) and use dairy-free candy melts for the coating. The texture will be very similar to the original.
Serving Suggestions for Halloween Rice Krispie Treats
These treats are endlessly fun to serve in creative ways that play up the Halloween theme:
- Treat bags: Wrap individual treats in clear cellophane bags tied with black and orange ribbon for a festive party favor or trick-or-treat giveaway.
- Dessert table display: Stand ghost- or bat-shaped treats upright in a mason jar filled with black sugar or chocolate sprinkles for a stunning centerpiece that doubles as a serving display.
- On a stick: Before the treats fully set, insert a lollipop stick or popsicle stick into each cut piece to create Rice Krispie treat pops — perfect for kids’ parties and easy to dip in chocolate.
- Paired with drinks: Serve alongside a warm mug of apple cider, hot chocolate with marshmallows, or a Halloween-themed punch for a complete seasonal snack spread.
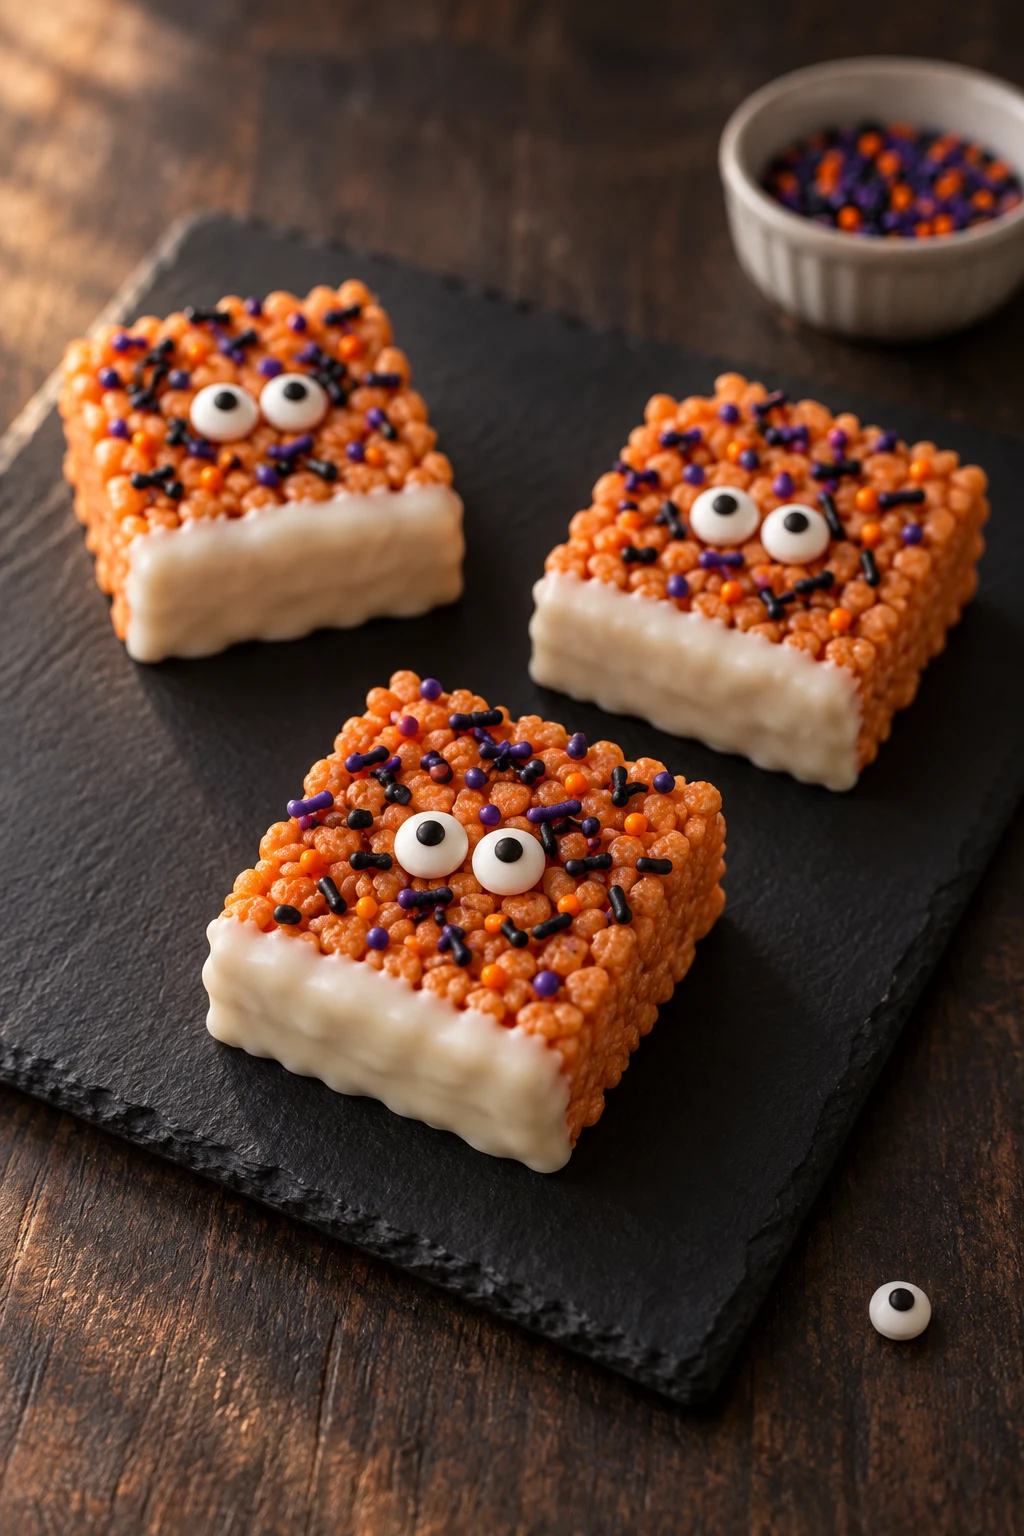
- Dessert platter: Arrange a mix of different shaped and decorated treats on a black slate board alongside candy corn, chocolate-dipped pretzels, and caramel apples for an impressive Halloween dessert spread.
- Garnishes to finish: A dusting of orange-colored edible glitter, a drizzle of contrasting black or white candy melt, or a tiny fondant spider on top takes the presentation to a whole new spooky level.
 Save
SaveStorage and Reheating
Proper storage keeps these treats soft and delicious for days after you make them:
- Room temperature: Store treats in an airtight container at room temperature for up to 3 days. Place a sheet of parchment or wax paper between layers to prevent sticking.
- Avoid the refrigerator for uncoated treats: Refrigerating plain treats causes them to dry out and become hard and crumbly. Always store at room temperature unless they are fully chocolate-coated.
- Chocolate-dipped treats: Treats with a candy melt coating can be stored at room temperature in a cool area for 3–4 days, or in the refrigerator for up to 5 days since the coating helps seal in moisture. Let them come to room temperature for 10 minutes before serving for the best texture.
- Freezing: These treats freeze well. Wrap each treat individually in plastic wrap, then place in a zip-top freezer bag. Freeze for up to 6 weeks. Thaw at room temperature for 30–60 minutes before serving.
- Make-ahead tip: For the freshest results, make treats no more than 1–2 days in advance of your party. If making further ahead, freeze and thaw the day before serving.
Frequently Asked Questions about Halloween Rice Krispie Treats
Why did my Halloween Rice Krispie Treats turn out hard?
The most common cause is cooking over too high a heat. High temperatures caramelize the sugars in the marshmallows, turning them into a rigid, glass-like structure once cooled. Always melt the butter and marshmallows over low to medium-low heat, stirring constantly. Using stale marshmallows or pressing the mixture too firmly into the pan can also contribute to a hard texture.
Can I use large marshmallows instead of mini marshmallows?
You can, but mini marshmallows are strongly recommended. They melt more evenly and quickly because of their smaller surface area, resulting in a smoother, more consistent marshmallow base. If you only have large marshmallows, use 40 regular-sized marshmallows (equivalent to 10 oz) and expect a slightly longer melting time — stir constantly and keep the heat low.
Why does my orange color look pale or washed out?
Two things are likely happening: you may be using liquid food coloring instead of gel paste coloring (liquid adds water and produces a weaker, thinner color), and you may not be adding enough of it. Gel food coloring is highly concentrated — use it generously and mix until the marshmallow mixture is a deep, dark orange before adding the cereal, as the pale cereal will lighten the color significantly.
Can I make these ahead of time?
Absolutely. These treats taste best the day they are made, but they stay fresh in an airtight container at room temperature for up to 3 days. For longer storage, wrap individually and freeze for up to 6 weeks, then thaw at room temperature for about an hour before serving. Avoid making them too far in advance if you want that signature soft and gooey texture.
My chocolate coating keeps seizing up — how do I fix it?
Chocolate seizes when it comes into contact with even a tiny amount of water. Make sure your bowl, spoon, and the surface of your treats are completely dry before dipping. To rescue seized chocolate, try stirring in a small amount of additional coconut oil — 1/2 teaspoon at a time — while warming gently. Prevention is key: always melt in short microwave bursts and keep water far away.
Can I use margarine instead of butter?
It is not recommended. Margarine has a higher water content than real butter, which affects how the marshmallows melt and the overall flavor and texture of the treats. Real unsalted butter produces the richest flavor and the best gooey consistency. If you need a dairy-free option, use a high-quality vegan butter stick (not a spread or tub) as the closest substitute.
How do I cut the treats cleanly without them crumbling?
Make sure the treats have cooled fully at room temperature — at least 30–60 minutes — before cutting. Use a large, sharp chef’s knife and spray or butter the blade lightly with nonstick spray before each cut. Press straight down with a firm, decisive motion rather than sawing back and forth. If using cookie cutters, spray them with nonstick spray and press firmly straight down.
Can I add mix-ins like candy or chocolate chips?
Yes! Fold mix-ins into the cereal mixture right before transferring to the pan. Great options include Halloween M&Ms, mini chocolate chips, candy corn, or chopped peanut butter cups. Keep mix-ins to about 1/2 cup per batch so they incorporate evenly without disrupting the structure of the treats. Avoid heat-sensitive candies that might melt if the mixture is still very warm.
Nutrition Facts (Per Serving)
| Nutrient | Amount Per Serving |
|---|---|
| Calories | 220 kcal |
| Total Fat | 7 g |
| Saturated Fat | 4 g |
| Total Carbohydrates | 38 g |
| Sugar | 22 g |
| Dietary Fiber | 0 g |
| Protein | 1 g |
| Sodium | 135 mg |
| Values are estimates and may vary based on exact ingredients and portion sizes. | |
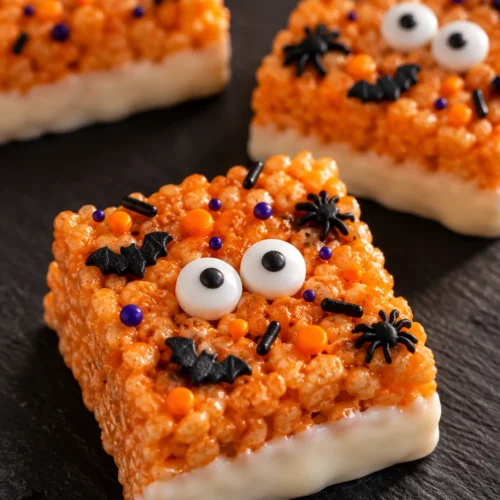
Halloween Rice Krispie Treats
Ingredients
- 6 cups Rice Krispies cereal Fresh box essential; stale cereal yields tough texture
- 10 oz about 5.5 cups Mini marshmallows (Must be fresh; mini melt more evenly than large)
- 4 –6 tablespoons Unsalted butter Real butter only, not margarine; more butter = gooier result
- few drops to desired shade Orange gel food coloring Gel preferred over liquid; add to marshmallow before cereal
- 1/2 –1 teaspoon Vanilla extract Added off-heat; elevates flavor significantly
- 1/4 –1 teaspoon Salt kosher or fine (Balances sweetness; add with vanilla off heat)
- 2 –3 tablespoons Halloween sprinkles Press on top before set; spiders/pumpkins/bats shapes
- as needed Candy eyes edible (Press into chocolate coating or directly onto treat)
- 1 –1.25 cups White or colored candy melts / chocolate chips For dipping/coating; add 1/2 tbsp coconut oil to thin
- 1/2 tablespoon Coconut oil Mixed with candy melts/chocolate to ease dipping
Instructions
- Line a 9x13-inch baking pan with parchment paper, pressing it flat into the corners. Lightly spray the parchment and sides of the pan with nonstick cooking spray. Set aside. This takes about 2 minutes. Checkpoint: You are ready to move on when the parchment lies flat with no gaps and the pan feels slick to the touch.
- Place a large saucepan or pot on the stove over low to medium-low heat. Add 6 tablespoons of unsalted butter. Stir occasionally and let it melt for 2–3 minutes. Do not turn up the heat — keep it low. Checkpoint: You are ready to move on when the butter is fully liquid with no solid chunks and is just beginning to foam at the edges.
- Add the full 10 oz (about 5.5 cups) of fresh mini marshmallows to the melted butter. Stir constantly with a wooden spoon or silicone spatula. Keep heat on low to medium-low. This takes 3–5 minutes. Checkpoint: You are ready to move on when the mixture is glossy, smooth, and stretchy with absolutely no lumps remaining.
- Remove the pot completely from the heat. Add 1/2 teaspoon vanilla extract, 1/4 teaspoon salt, and several drops of orange gel food coloring. Stir for about 1 minute until the color is deep and uniform. Make the color slightly darker than you want — it will lighten once cereal is added. Checkpoint: You are ready to move on when the mixture is a deep, vibrant orange throughout.
- Add all 6 cups of Rice Krispies cereal to the pot. Using a greased rubber spatula (spray it with nonstick spray), fold and stir quickly for 1–2 minutes. Work fast before the mixture cools and becomes harder to stir. Checkpoint: You are ready to move on when every single piece of cereal is coated in orange marshmallow with no dry white pieces visible.
- Scrape the mixture into your prepared pan. Spray your hands with nonstick spray and gently spread the mixture into an even layer. Use a light touch — press softly, not firmly. This takes about 2 minutes. Checkpoint: You are ready to move on when the surface looks level and feels slightly springy, not dense or compressed.
- While the surface is still warm and tacky, immediately press your Halloween sprinkles and candy eyes into the top. Do this within 1–2 minutes of spreading — if the treats cool too much, the decorations won't stick. Checkpoint: You are ready to move on when the decorations feel embedded and don't slide or fall off.
- Leave the pan on the counter at room temperature. Do not refrigerate at this stage — cold air makes the bars rubbery and tough. Wait 30–60 minutes. If your kitchen is warm, it may take the full 60 minutes. Checkpoint: You are ready to move on when the treats are firm to the touch and no longer feel sticky.
- Lift the entire slab out of the pan using the parchment paper as handles. Place on a cutting board. Cut into rectangles with a sharp knife, or press Halloween cookie cutters (ghosts, pumpkins, bats) into the slab for shaped treats. This takes about 5 minutes. Checkpoint: You are ready to move on when cuts are clean and shapes hold their edges without crumbling.
- (Optional) Place 1 cup of white or colored candy melts and 1/2 tablespoon of coconut oil in a microwave-safe bowl. Microwave in 15–30 second bursts, stirring between each, for a total of about 2–3 minutes, until completely smooth and fluid. The chocolate should be around 90°F and flow off a spoon in a thin ribbon. Dip one side or one end of each treat into the chocolate for 1 minute, letting excess drip off.
- While the chocolate coating is still wet, press on additional candy eyes, sprinkles, or pipe black icing for jack-o-lantern faces or spiderweb designs. Lay each treat on a parchment-lined baking sheet. Allow to set at room temperature for 15–30 minutes, or refrigerate for 10 minutes to speed up setting. Checkpoint: You are ready to serve when the chocolate coating is matte and completely firm and decorations do not move.