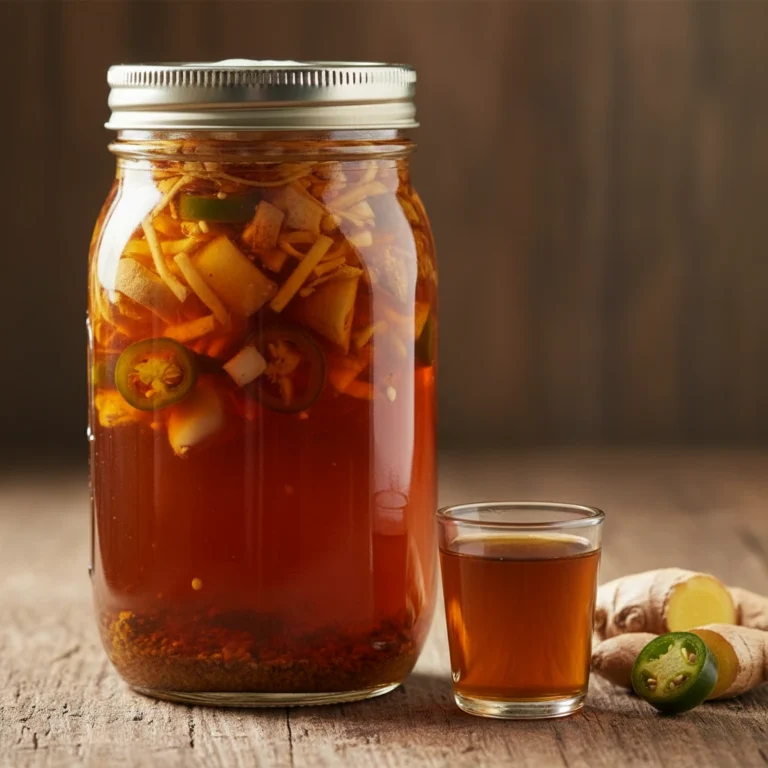
Fire Cider is a potent herbal tonic that combines spicy roots, vibrant vegetables, and raw apple cider vinegar into a wellness powerhouse. This centuries-old remedy has gained popularity among health-conscious home cooks looking for a natural immune-boosting shot. With its bold flavors of horseradish, ginger, garlic, and jalapeño, fire cider delivers warmth and vitality in a small dose. Whether enjoyed as a daily wellness ritual or added to recipes, this fermented elixir is surprisingly simple to make at home.
Reasons to Try Fire Cider
Fire Cider stands out as a versatile, natural wellness tonic that’s both delicious and functional. Here’s why you should make a batch:
- Immune-Boosting Powerhouse: The combination of raw garlic, ginger, turmeric, and horseradish creates a synergistic blend traditionally used to support respiratory and immune health. Raw apple cider vinegar with the mother adds living enzymes and probiotics for digestive support.
- Anti-Inflammatory Benefits: Ginger, turmeric, and jalapeños are renowned for their anti-inflammatory compounds. Taken regularly as a wellness shot, fire cider may help reduce inflammation naturally.
- Adaptogenic and Warming: The fiery heat from horseradish, jalapeños, and black pepper creates a warming sensation that energizes the body and supports circulation. It’s the perfect pick-me-up on cold mornings.
- Budget-Friendly and Sustainable: This recipe costs just a few dollars to make and yields weeks’ worth of daily wellness shots. One batch stored properly lasts up to 6 months in the refrigerator.
- Endlessly Versatile: Beyond taking it straight as a shot, fire cider adds depth to salad dressings, hot teas, soups, and even marinades. A spoonful transforms ordinary recipes into bold, flavorful dishes.
- No Special Equipment Needed: All you need is a mason jar, a fine-mesh sieve, and your kitchen counter. The fermentation happens passively over 3–4 weeks with minimal effort—just shake daily and patience does the rest.
 Save
SaveIngredients Notes
- Fresh horseradish root – Look for firm, unblemished roots in the produce section or specialty markets. Peeling releases its pungent oils, so work in a ventilated area.
- Fresh ginger root – Choose smooth, heavy pieces without wrinkles or soft spots. Younger ginger has thinner skin and milder heat; mature ginger is more potent.
- Medium onion – Any variety works (yellow, white, or red). Roughly chop to release its sulfur compounds and flavor.
- Garlic cloves – Fresh, firm cloves are essential. Crush or roughly chop to activate their beneficial allicin compound.
- Jalapeño peppers – Leave the seeds in for maximum heat and capsaicin content. Wear gloves while handling to avoid skin irritation.
- Lemon – Keep the peel on for its limonene and additional antioxidants. Quartering helps the flavors infuse into the vinegar.
- Fresh turmeric root – If unavailable, ground turmeric works (use half the amount). Fresh turmeric has a brighter, earthier flavor.
- Whole black peppercorns – These aid in curcumin absorption from the turmeric, enhancing its bioavailability.
- Raw Apple Cider Vinegar with the mother – The “mother” is the living colony of beneficial bacteria and enzymes. This is non-negotiable for fire cider’s probiotic benefits. Pasteurized vinegar won’t deliver the same results.
- Raw honey – Adds natural sweetness and its own antimicrobial and soothing properties. Adjust to your taste preference; some prefer more honey, others less.
How to Make Fire Cider
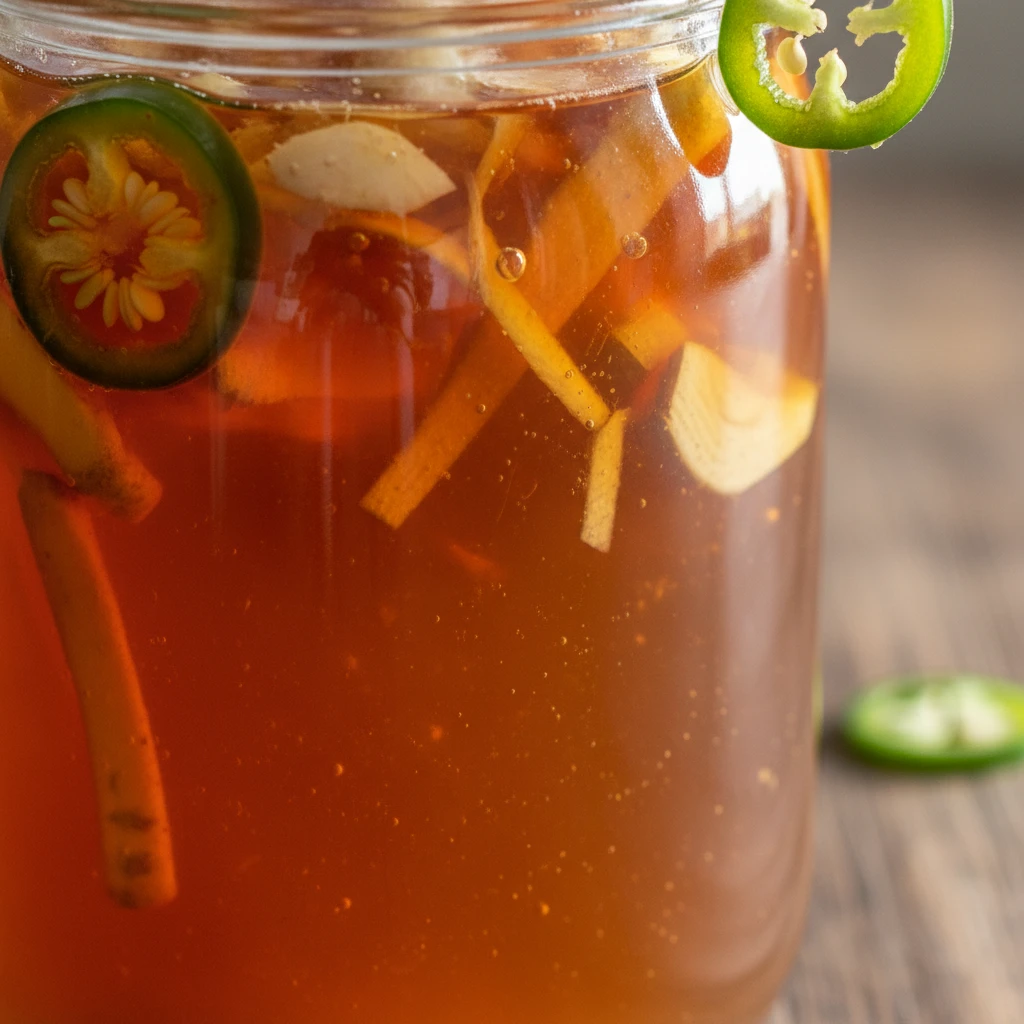
- Pack a clean 1-quart glass mason jar with grated horseradish, ginger, onion, garlic, jalapeños, lemon quarters, turmeric, and black peppercorns—the jar should be roughly 2/3 full of solids.
- Pour raw apple cider vinegar over the ingredients until completely submerged, filling to the top with at least 1 inch of vinegar above the highest piece.
- Place parchment or wax paper over the jar opening before screwing on the metal lid to prevent vinegar from corroding the metal.
- Store in a cool, dark cabinet for 3–4 weeks, shaking gently once daily or whenever you remember.
- After 4 weeks, strain the liquid through a fine-mesh sieve or cheesecloth into a clean bowl, pressing hard on the solids to extract all juices.
- Whisk raw honey into the strained liquid until fully dissolved, adjusting sweetness to taste.
- Transfer to a clean jar or bottle and refrigerate for up to 6 months. Take 1–2 tablespoons daily as a wellness shot, or use in dressings and teas.
What You Must Know About Fire Cider
Critical Tips and Important Warnings:
- Raw Apple Cider Vinegar with the Mother is Non-Negotiable: The “mother” refers to the living colony of beneficial bacteria (primarily Acetobacter) and enzymes that give raw apple cider vinegar its probiotic and nutritional power. Pasteurized or distilled vinegars have been heat-treated and lack these living cultures. Always check the label for “with the mother” or “unfiltered and unpasteurized.” Brands like Bragg are widely available and reliable. Using anything else defeats the purpose of fire cider as a wellness tonic.
- Parchment Between Lid and Vinegar is Essential: Never let the raw vinegar touch a bare metal lid. The acidity will corrode the metal, causing rust particles to contaminate your batch and potentially create toxic compounds. Always use parchment paper, wax paper, or a plastic mason jar lid as a barrier. This single step prevents ruined batches and ensures safety.
- Horseradish and Ginger Fumes Are Intense: When grating fresh horseradish and ginger, the volatile compounds released can irritate eyes, nose, and throat. Work in a well-ventilated area (near an open window or with a fan running). Wear gloves to protect your hands. If your eyes water, you’re doing it right—the fumes are powerful but temporary.
- Pregnancy and Medical Conditions: Fire cider is potent and not recommended for pregnant or nursing women without medical approval. The high spice levels and raw vinegar may not be suitable for all digestive systems. Those with ulcers, GERD, or on blood thinners should consult a healthcare provider before consuming regularly.
- Start with Small Doses: If you’re new to fire cider, begin with ½ tablespoon daily to assess tolerance. The intensity can overwhelm sensitive palates or digestive systems. Gradually increase to 1–2 tablespoons as your body adapts. Never consume more than 2–3 tablespoons in a single day.
- Keep Away from Direct Sunlight: Store the infusing jar in a cool, dark cabinet. Sunlight degrades the beneficial compounds and accelerates fermentation in unpredictable ways. Darkness is key to stable, potent fire cider.
- Fermentation Timeline Varies: Depending on your kitchen temperature, fermentation may take 3–4 weeks. Cooler kitchens (below 65°F) may need an extra week. Warmer kitchens (above 75°F) may finish in 3 weeks. Taste-test around day 21 to gauge readiness. There’s no penalty for letting it steep a day or two longer if it needs more flavor.
- Honey Should Be Raw and Unpasteurized: Raw honey retains its enzymatic properties and antimicrobial compounds. Pasteurized or conventional honey loses these benefits. Look for labels saying “raw,” “unpasteurized,” or “with honeycomb.” If raw honey is unavailable, skip it or use it simply for sweetness—the fire cider will still work without it, though some of the synergistic wellness benefits are reduced.
Helpful Tips to Simplify the Process and Improve Outcomes
- Prep All Ingredients at Once: Wash, peel, and grate everything before you touch the jar. This prevents mid-process scrambling and ensures nothing is forgotten. Lay ingredients on a cutting board so you can see everything at a glance.
- Label Your Jar with the Start Date: Use a marker or label to write “Fire Cider – Started [Date]” on the jar. This removes all guesswork about when it’s ready. Mark your calendar 4 weeks out so you don’t lose track.
- Use a Dedicated Shaking Spot: Place the jar on the same shelf or counter each day so you remember to shake it. Habit stacks better than willpower—if you see it during your morning coffee routine, you’re more likely to remember.
- Strain Twice for Ultimate Clarity: If you prefer a crystal-clear fire cider (versus slightly cloudy), strain first through a fine-mesh sieve, then again through coffee filters or cheesecloth. This removes all sediment but takes an extra 5 minutes.
- Double or Triple the Batch: Make 2–3 jars simultaneously using the same timeline. They take no extra effort, and you’ll have fire cider lasting 6–18 months. Gift bottles to friends and family.
- Compost the Solids Thoughtfully: After straining, the spent roots and vegetables are excellent compost material. They’re nutrient-rich and will break down quickly in a compost bin or pile. Avoid putting them in the trash if possible.
- Infuse Honey Slowly in Cool Liquid: Never add honey to hot vinegar. Heat destroys its enzymatic properties. Always let the liquid cool to room temperature before whisking in honey. If you accidentally warm the liquid, wait 5–10 minutes before adding honey.
Variations and Substitutions
Adapt Fire Cider to Your Preferences and Available Ingredients:
- Reduce or Increase Heat: For a milder version, remove the jalapeño seeds or use fewer peppers. For extra intensity, add cayenne pepper, habaneros, or even a pinch of ground ghost pepper. Heat is highly personal—adjust to your tolerance.
- Add Warming Spices: Include 1 teaspoon of ground cinnamon, a few whole cloves, or a pinch of nutmeg for additional warming and anti-inflammatory benefits. These spices complement the core ingredients beautifully.
- Citrus Variations: Swap the lemon for lime, orange, or grapefruit (peel on). Each citrus adds a different brightness and flavor profile. Orange brings subtle sweetness; lime adds tropical notes.
- Fresh Turmeric vs. Ground: The recipe calls for 2 tablespoons fresh grated turmeric or 1 tablespoon ground turmeric. Use whichever you have access to. Fresh turmeric tastes brighter and earthier; ground turmeric is more concentrated.
- Herbal Additions (Optional): Add 1–2 sprigs of fresh thyme, rosemary, or oregano for additional antimicrobial properties. These herbs complement the core spices without overwhelming them. Strain carefully to remove all herb particles.
- Apple or Pear Addition: Add 1–2 thin slices of fresh organic apple or pear to introduce subtle sweetness and additional beneficial compounds. Remove after straining.
- Vinegar Substitutions: While raw apple cider vinegar is ideal, you may use raw coconut vinegar or raw wine vinegar if apple cider is unavailable. These must also have “the mother” for probiotic benefits. Avoid white or distilled vinegars.
- Honey Alternatives: If you prefer avoiding honey (vegan diet, etc.), skip it or use pure maple syrup or coconut nectar at the same ratio (¼ cup). These provide natural sweetness but with different flavor profiles. Agave nectar also works (use 3 tablespoons for slightly less sweetness).
- Medicinal Mushrooms (Advanced): Add 1 tablespoon of dried, powdered medicinal mushrooms like reishi, chaga, or lion’s mane during the steep for enhanced immune support. These are available online and at natural food stores.
- High-Altitude Adjustment: If you live at high altitude (above 5,000 feet), fermentation may progress slower due to lower atmospheric pressure and temperature fluctuations. Allow an extra 1–2 weeks for steeping.
Serving Suggestions for Fire Cider
Creative Ways to Use and Enjoy Your Fire Cider:
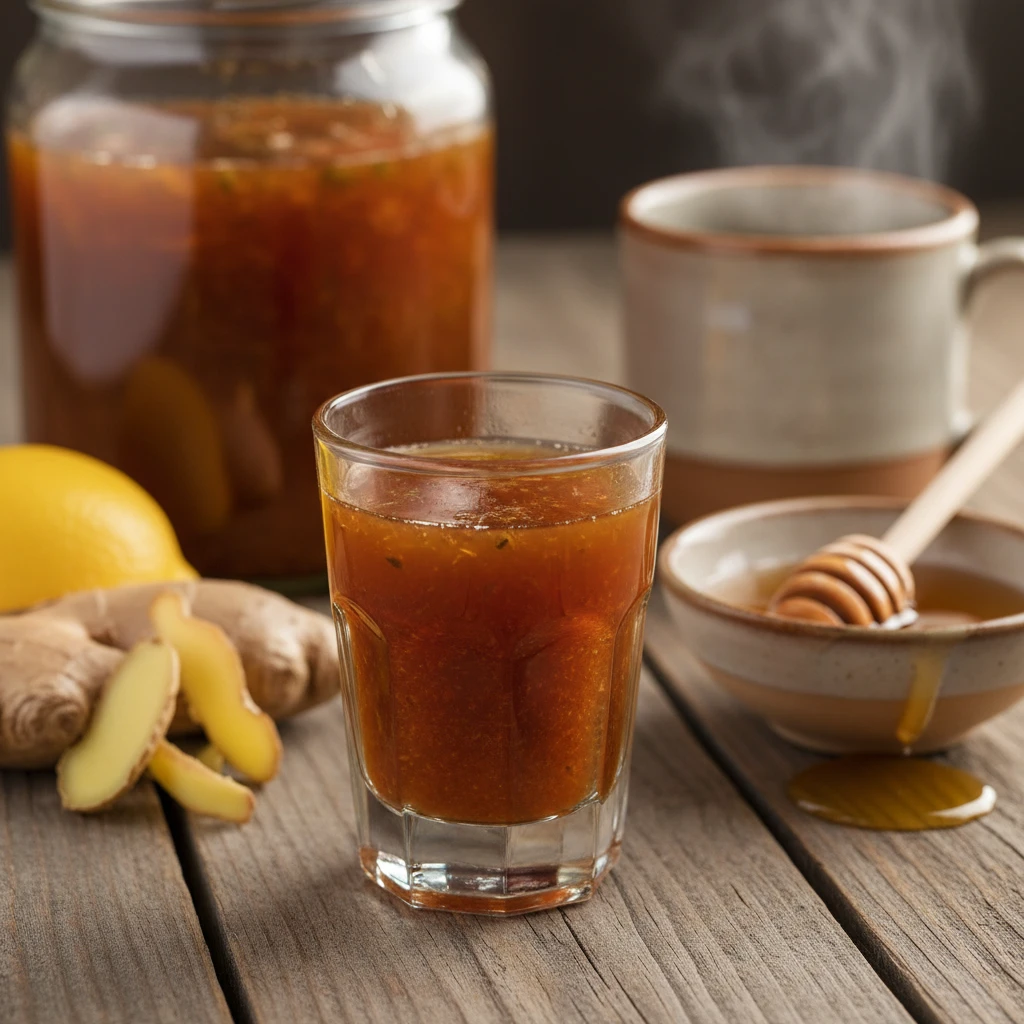
- Daily Wellness Shot: The most traditional use—measure 1–2 tablespoons into a small shot glass and drink it straight in the morning, preferably on an empty stomach. Follow with a glass of water or a bite of food if the intensity is too much. This is a daily ritual that takes 30 seconds.
- Warm Tea Blend: Stir 1–2 tablespoons of fire cider into an 8-ounce cup of hot water, herbal tea, or bone broth. Add a touch of raw honey if desired. The warmth mellows the intensity and creates a soothing, immune-boosting tea. Perfect on cold mornings or when you feel a cold coming on.
- Salad Dressing: Use fire cider as the acid base for a bold vinaigrette. Combine 3 tablespoons of fire cider with 1 tablespoon of Dijon mustard, 1 minced garlic clove, 3 tablespoons of olive oil, salt, and pepper. Whisk and drizzle over mixed greens, roasted vegetables, or grain bowls. The spicy notes elevate simple salads.
- Marinades for Protein: Mix 2–3 tablespoons of fire cider with olive oil, soy sauce, and a touch of honey to create a marinade for chicken, fish, tofu, or tempeh. The vinegar tenderizes while infusing bold flavor. Marinate for 2–4 hours before grilling or baking.
- Soup Brightener: Add 1–2 tablespoons to the end of cooking any soup (chicken, vegetable, lentil) for an instant brightness and immune boost. Avoid boiling it to preserve live enzymes. Stir in just before serving.
- Sauces and Glazes: Whisk fire cider into barbecue sauce, hot sauce, or Asian-inspired glazes (combine with soy sauce, maple syrup, and sesame oil). The spicy-tangy profile adds complexity to otherwise one-note sauces.
- Pickle Brine: Use fire cider as part of the pickling liquid for vegetables (cucumbers, carrots, onions). Replace half the vinegar in your favorite pickle recipe with fire cider. The result is pickles with extra depth and spice.
- Cocktail Mixer (for Adults): Craft cocktails love fire cider. Mix 1–2 tablespoons into whiskey-based drinks, tequila shots, or spicy margaritas. It pairs beautifully with agave spirits and dark liquors. Garnish with a jalapeño slice.
- Smoothie or Juice Booster: Add 1 tablespoon to green smoothies or fresh vegetable juices for an immune-boosting kick. The spice cuts through sweetness and adds depth. Combine with apple, carrot, ginger, and spinach for maximum benefit.
- Gargle for Sore Throat: Dilute 1 tablespoon of fire cider in 4–6 ounces of warm water and gargle (do not swallow in large amounts). The antimicrobial and anti-inflammatory compounds may soothe throat irritation. Repeat 2–3 times daily as needed.
- Gift It: Bottle fire cider in 8-ounce or 4-ounce glass bottles with custom labels for a homemade, thoughtful gift. Include a recipe card with suggested uses. Health-conscious friends and family will appreciate the effort and the tonic itself.
 Save
SaveStorage and Reheating
Proper Storage for Maximum Shelf Life and Potency:
Fire cider, once finished and refrigerated, is remarkably shelf-stable. Unlike many homemade tonics, the raw vinegar acts as a natural preservative, and the raw honey adds antimicrobial properties that extend longevity significantly.
- Primary Storage (Recommended): Store the finished fire cider in a clean glass jar or bottle with a tight-fitting lid in the refrigerator. Glass is preferred over plastic because the acidic vinegar can degrade some plastics over time, especially if stored for several months. Refrigeration slows any remaining fermentation and keeps the cider fresh, potent, and safe for up to 6 months.
- Cool, Dark Storage (Alternative): If your refrigerator space is limited, fire cider can be stored in a cool, dark pantry or cabinet (away from direct sunlight, heat, and appliances) at room temperature for up to 3–4 months. However, refrigeration is strongly recommended for the full 6-month shelf life and to maintain optimal potency. Room temperature storage accelerates oxidation and fermentation, reducing its active lifespan.
- Signs of Spoilage: Fire cider lasts an exceptionally long time due to its acidic and antimicrobial nature. However, if you notice visible mold on the surface, an off odor, cloudiness that appears abnormal, or an off-taste after several months, discard the batch. These are rare but possible signs of contamination. Trust your senses—if something seems off, err on the side of caution.
- Separation or Settling: If the honey settles to the bottom or the liquid appears slightly separated after weeks in the refrigerator, this is completely normal. Simply shake the bottle gently before each use to redistribute. This does not indicate spoilage.
- Daily Use Tip: If you take fire cider daily, keep a small 4-ounce bottle on your counter or bedside table for convenience, and store the bulk of your batch in the refrigerator. This prevents repeated temperature fluctuations to the main batch and makes your daily ritual effortless.
Reheating or Warming (If Desired):
Fire cider is not typically “reheated” in the traditional sense because it’s consumed in small amounts (1–2 tablespoons) and is often added to warm or room-temperature liquids. However, if you wish to warm a full cup of fire cider for a soothing tea-like experience:
- Pour 8 ounces of fire cider into a small saucepan and heat gently over low heat for 2–3 minutes until it reaches a warm (not hot) temperature of approximately 120–140°F. Do not boil, as boiling destroys the beneficial enzymes and probiotics from the raw vinegar and the raw honey.
- Alternatively, fill a mug with 8 ounces of fire cider and microwave it in 30-second intervals, stirring between each interval, until it reaches your desired warmth (usually 1–2 minutes total). Stir between intervals to ensure even heating.
- Once warm, you may add hot water (½ to 1 cup) to dilute and mellow the intensity, creating a warming tonic rather than a straight shot.
The key is gentle warming, never boiling. This preserves the living cultures and enzymes that make fire cider a true wellness tonic rather than just a flavorful vinegar.
Frequently Asked Questions about Fire Cider
What does “with the mother” mean on apple cider vinegar labels?
“The mother” refers to the living culture of beneficial bacteria (primarily Acetobacter aceti) and enzymes that naturally forms during fermentation. It appears as a cloudy, stringy, or web-like substance in raw, unfiltered apple cider vinegar. This living culture is what makes raw apple cider vinegar a probiotic food and why it’s essential for fire cider. Pasteurized or distilled vinegars have been heat-treated to remove the mother, eliminating the health benefits. Always choose “raw,” “unfiltered,” or “with the mother” varieties. Popular brands like Bragg explicitly label their bottles “with the mother.” The presence of the mother is a sign of quality and potency.
Can I use ground turmeric instead of fresh turmeric root?
Yes, you can substitute ground turmeric for fresh turmeric root. The recipe calls for 2 tablespoons of fresh grated turmeric or 1 tablespoon of ground turmeric—use half the measurement when substituting ground for fresh because ground turmeric is more concentrated. Ground turmeric is more convenient and widely available. However, fresh turmeric root offers a brighter, more complex flavor and retains more of its active compound curcumin in its whole form. If using ground turmeric, ensure it’s high-quality and not too old (over 2 years), as its potency diminishes with age. Store it in a cool, dark place to extend shelf life.
How long does fire cider last once it’s opened and refrigerated?
Properly stored in a sealed glass jar in the refrigerator, finished fire cider lasts up to 6 months. The raw vinegar acts as a natural preservative, and the raw honey adds antimicrobial properties that extend longevity. However, the longer it sits, the more the beneficial enzymes and probiotics gradually diminish due to oxidation. For maximum potency, consume within the first 2–3 months. If you notice visible mold, an off odor, or abnormal cloudiness, discard it immediately. Always use a clean spoon when removing fire cider from the jar to prevent contamination. Avoid dipping your mouth directly into the bottle or using a soiled utensil, as this introduces bacteria and shortens shelf life.
Is fire cider safe for children and pregnant women?
Fire cider’s high spice level and potent nature make it unsuitable for young children without medical approval. The intense heat can irritate sensitive digestive systems and is generally not recommended for children under 12. For pregnant or nursing women, consult a healthcare provider before consuming fire cider regularly. The raw vinegar, raw honey, and potent spices may affect some pregnancies. While fire cider is made from whole foods and is not toxic, its concentrated nature and potential interactions with certain conditions warrant professional medical guidance during pregnancy and breastfeeding. Children over 12 may tolerate small amounts (½ tablespoon diluted in warm water) if monitored and interested, but always seek parental judgment and medical input first.
What if my fire cider develops mold during the steeping process?
If you notice visible mold (white, green, or black growth) on the surface of your fire cider during the 3–4 week steeping period, discard the entire batch immediately. Mold indicates contamination and poses a potential health risk. To prevent mold in future batches: (1) Ensure all solids are completely submerged under at least 1 inch of vinegar—any exposure to air creates an entry point for mold spores. (2) Seal the jar tightly with a parchment-paper barrier between the lid and the liquid to prevent air exposure. (3) Store in a cool, dark location (not warm kitchens) where temperature fluctuations are minimal. (4) Use a sterilized jar and clean utensils. Mold is rare if these steps are followed, but if it appears, start over with a fresh batch rather than attempting to salvage it.
Can I use a different type of vinegar, like white vinegar or rice vinegar?
While you can technically use other vinegars, raw apple cider vinegar with the mother is strongly recommended for optimal results. White vinegar and distilled vinegar are typically pasteurized and lack the beneficial bacteria and enzymes that make fire cider a true wellness tonic. If you must substitute, use only raw, unpasteurized vinegars such as raw coconut vinegar, raw wine vinegar, or raw rice vinegar—and they must explicitly state “with the mother” on the label. Raw coconut vinegar or raw wine vinegar are acceptable alternatives, though the flavor profile will differ slightly. Avoid pasteurized or distilled vinegars altogether, as they defeat the purpose of creating a probiotic-rich fire cider. Apple cider vinegar is the traditional choice for a reason—its flavor complements the spicy roots and vegetables, and its nutritional profile is unmatched among vinegars.
How much fire cider should I take daily, and is there a risk of consuming too much?
The recommended daily dose of fire cider is 1–2 tablespoons, typically taken in the morning on an empty stomach or mixed into warm tea or broth. Start with ½ tablespoon if you’re new to fire cider to assess tolerance, as its spicy nature can overwhelm sensitive digestive systems or palates. Never consume more than 2–3 tablespoons in a single day. While fire cider is made from whole foods and is not toxic, excessive consumption can irritate the mouth, throat, and digestive tract due to the high capsaicin (from jalapeños), gingerol (from ginger), and acidity (from vinegar). Those with GERD, ulcers, or sensitive digestion should consult a healthcare provider before regular use. The key is consistency at a moderate dose—daily 1–tablespoon doses are more beneficial than occasional large doses. Listen to your body and adjust as needed.
Nutrition Facts (Per Serving)
| Nutrient | Per 1 Tablespoon (15 mL) |
|---|---|
| Calories | 12 |
| Total Fat | 0.1g |
| Saturated Fat | 0g |
| Carbohydrates | 0.3g |
| Sugars | 0.2g |
| Fiber | 0g |
| Protein | 0.1g |
| Sodium | 15mg |
| Values are estimates and may vary based on exact ingredients and portion sizes. Nutritional composition of fire cider is minimal because the tonic is consumed in small 1–2 tablespoon doses. Most calories and carbs come from the raw honey added at the end; the vegetables and roots contribute trace minerals and phytonutrients rather than significant macronutrients. The true value of fire cider lies in its bioactive compounds (capsaicin, gingerol, curcumin, isothiocyanates) and live probiotics from the raw vinegar, which are not captured in standard nutrition labeling. | |
Fire Cider Recipe
Ingredients
- ½ cup fresh horseradish root peeled and grated (or finely chopped)
- ½ cup fresh ginger root peeled and grated
- 1 medium onion roughly chopped
- 10 cloves garlic crushed or roughly chopped
- 2 jalapeño peppers sliced (leave seeds in for more heat)
- 1 lemon quartered (leave peel on)
- 2 tbsp fresh turmeric root grated (or 1 tbsp ground turmeric)
- 1 tsp whole black peppercorns
- Raw Apple Cider Vinegar must say "with the mother" on the bottle, approx. 2-3 cups
- ¼ cup raw honey added at the very end, adjust to taste
Instructions
- Prep your ingredients: Peel and grate the horseradish root (2–3 minutes). Peel and grate the ginger root (2–3 minutes). Work in a ventilated area—horseradish and ginger fumes are intense. Roughly chop the onion (1 minute). Crush or roughly chop the 10 garlic cloves (1 minute). Slice the jalapeños with seeds (1 minute). Quarter the lemon, leaving peel on (1 minute). Grate or measure the turmeric (1 minute). Have the black peppercorns ready. Checkpoint: All ingredients should be prepped and ready to layer into the jar.
- Sterilize your jar: Wash a clean 1-quart (32 oz) glass mason jar with hot soapy water and rinse thoroughly (2–3 minutes). Dry with a clean towel. A sterile jar prevents unwanted mold or bacteria during fermentation. Checkpoint: Your jar is clean, dry, and ready to fill.
- Layer the solids loosely: Add the grated horseradish, ginger, chopped onion, crushed garlic, sliced jalapeños, lemon quarters, grated turmeric, and black peppercorns into the jar (2 minutes). Keep ingredients loose and chunky—do not pack them down. The jar should be approximately 2/3 full of solids. Checkpoint: Solids fill the jar to about the 2/3 mark, leaving room for vinegar.
- Pour in the vinegar: Slowly pour raw apple cider vinegar (with the mother) over the ingredients until they are completely submerged (2–3 minutes). Fill the jar all the way to the top, ensuring there is at least 1 inch of vinegar covering the highest piece of vegetable or root. The vinegar extracts and preserves the medicinal compounds during fermentation. Checkpoint: All solids are fully submerged under at least 1 inch of vinegar.
- Protect the metal lid: Cut a small piece of parchment paper or wax paper and place it flat over the jar opening, just under the rim (1 minute). This barrier prevents the acidic vinegar from corroding the metal lid during the 3–4 week steep. Screw the metal lid on firmly over the parchment. Checkpoint: The parchment is in place and the lid is sealed tight.
- Store in a cool, dark place: Place the sealed jar in a cool, dark cabinet, cupboard, or pantry (away from direct sunlight and heat) for 3 to 4 weeks. A kitchen cabinet or a basement shelf works perfectly. Temperature stability matters—avoid placing it near the oven or a sunny window. Checkpoint: Your jar is stored safely in a consistent, cool environment.
- Shake daily: Once per day (or whenever you remember), remove the jar and shake it gently for 10–15 seconds (30 seconds total time including retrieval). Shaking helps distribute flavors evenly and encourages the infusion process. You may notice the color deepening to amber or rust tones as days pass—this is normal and expected. Checkpoint: You have established a daily shaking routine; the jar is darkening in color.
- Check readiness after 3 weeks: Around day 21, open the jar and taste a tiny sip (never touching your mouth directly to avoid contamination). The liquid should taste powerfully spicy, tangy, and aromatic. If it's not strong enough, seal and continue for another week. Most batches are ready by day 28. Checkpoint: The liquid tastes bold and fully infused.
- Strain the solids: After 3–4 weeks, set a fine-mesh sieve or several layers of cheesecloth over a clean glass bowl (1 minute). Carefully pour the entire jar contents into the sieve, allowing the liquid to drain naturally (2–3 minutes). Do not rush this step. Checkpoint: Most liquid has drained into the bowl.
- Press the solids hard: Using the back of a spoon or your clean hands, press down firmly on the solids in the sieve to extract every drop of liquid (2–3 minutes). You want to wring out the maximum flavor and medicinal compounds. The solids can be composted or discarded. Checkpoint: The pressed solids are nearly dry and all liquid has been extracted.
- Measure the strained liquid: Pour the strained liquid into a measuring cup to see how much you have (usually 2–2.5 cups). This helps you gauge how much honey to add. Checkpoint: You know the total volume of your fire cider base.
- Add and dissolve the honey: Pour the strained liquid back into a clean bowl. Add ¼ cup raw honey to the liquid (2 minutes). Using a clean whisk or spoon, stir vigorously for 30–60 seconds until the honey is fully dissolved and no visible particles remain. The honey sweetens, preserves, and adds its own soothing antimicrobial properties. Taste it now—if you prefer more or less sweetness, adjust by adding a bit more honey or vinegar. Checkpoint: Honey is completely dissolved; liquid is smooth and evenly sweetened.
- Transfer to storage bottles: Pour the finished fire cider into a clean glass jar or bottle with a tight-fitting lid (3 minutes). Avoid plastic if possible, as vinegar may degrade some plastics over time. Glass is ideal. Checkpoint: Fire cider is in its final storage container, sealed and ready.
- Refrigerate: Place the sealed jar in the refrigerator immediately. Refrigeration slows any remaining fermentation and keeps the fire cider fresh and potent for up to 6 months. Do not leave it at room temperature—cold storage is essential for longevity. Checkpoint: Your finished fire cider is cold and ready to use.
- First dose (optional): On day 1 of storage, you may take your first wellness shot: measure 1–2 tablespoons into a small cup or shot glass (1 minute). Drink it straight, or follow with a glass of water if the intensity is overwhelming. Some people prefer to mix it into warm tea or a salad dressing. Take 1–2 tablespoons daily as desired. Checkpoint: You have successfully completed your first batch of fire cider and know how to dose it.